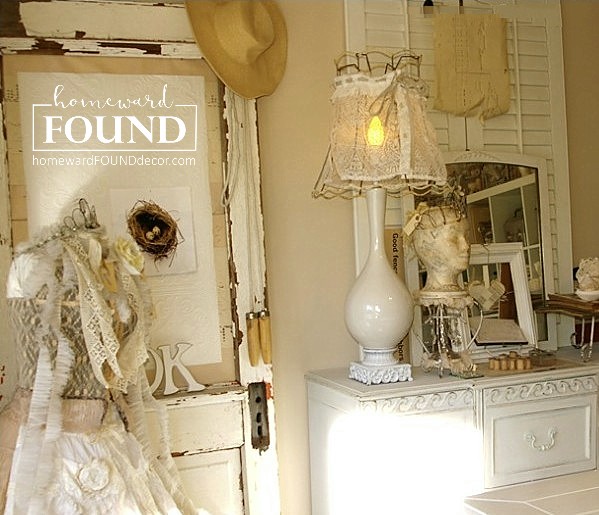
I have a thing for old doors. I love 'em. I collect 'em.
I use them for tabletops and wall art and headboards and shutters and fences and.....
I've made bulletin / inspiration boards out of them!
I use them for tabletops and wall art and headboards and shutters and fences and.....
I've made bulletin / inspiration boards out of them!
Here's the basic 'how-to', Deb version:
First, you need an old / vintage door with an opening in it, like mine shown above.
The opening used to be a window... some doors have inset wood panels,
The opening used to be a window... some doors have inset wood panels,
and you can remove those and use the opening, too.
I bet you can't guess what the bulletin board part is made from!
[no, it's not corkboard! you know that I never use things the way they are expected to be used!]
[no, it's not corkboard! you know that I never use things the way they are expected to be used!]
Here's a clue:
Any guesses?
How about now?
Yup, it's made from an acoustic ceiling tile!
WHY?
They are large, porous (easy to stick pins and tacks into) and pretty cheap.
And when I first made MY board, I found a tile in the garage - so I used it!
You'll need a large rectangular sized acoustic ceiling tile to fill the opening in a door.
Measure the opening on your door, and draw lines on the acoustic tile as a cutting guide.
Then cut the tile by using an electric carving knife!
[ Just like styrofoam. Wait, you didn't know that about cutting styrofoam?!]
[ Just like styrofoam. Wait, you didn't know that about cutting styrofoam?!]
After the tile is cut, wrap the cut edges with duct tape to prevent crumbling.
Then paint your tile and the duct tape with regular house paint -
and because it's already primed white when you buy it, it takes paint really well.
and because it's already primed white when you buy it, it takes paint really well.
You could cover it with wallpaper, gift wrap, etc if you wanted to.
Then fit the tile into the door's opening from the back side...
Then fit the tile into the door's opening from the back side...
most of them have a lip that held the old glass in place, and that will keep the tile from falling forward.
Secure the tile to the back of the door using metal brackets attached across each corner
[ much like the ones used on artist's canvases and frames ].
[ much like the ones used on artist's canvases and frames ].
Or you can do what I did... and just hot glue the tile to the back of the door
and then add a buncha' duct tape all around the edges for good measure.
It holds the thing in place, and no one is going to SEE the back!!!
It holds the thing in place, and no one is going to SEE the back!!!
Now comes the fun part...
fill it up with clippings and cuttings and photos and quotes,
even dimensional objects and souvenirs and special things
that inspire you and make you smile when you look at them.
.


