. -->
Showing posts with label on the porch. Show all posts

5.16.2014

tutorial: beachy faux weathered paint

art class, decorating, DIY, fast cheap and easy, furniture, on the porch, painting, summer, beach style, color, diy decorating, faux finish, junk makeover, junking, makeover, rustic style, salvaged, trash to treasure, tutorial
I've spent a major part of my life painting things...
it's really one of the fastest, cheapest, easiest ways to give an item new life
and the only limit to your results is your imagination!

As a kid, i was into finger painting - and then hundreds of art projects.
At one point, I was actually painting houses - inside and out.
I painted props and walls and fixtures for retail displays.
I taught an art class for gifted kids, and taught them how to cartoon and paint murals.
I was painting custom murals in homes and businesses, 
and painting furniture for my small store, farmer's markets, and clients.
In the end, I ended up creating new furniture out of old stuff, and adding paint finishes to it.
Seems I've had a paintbrush in my hand most of the time!

Recently, I laid my eyes on an old, worn out picnic bench that Mom has had for YEARS.
art class, decorating, DIY, fast cheap and easy, furniture, on the porch, painting, summer, beach style, color, diy decorating, faux finish, junk makeover, junking, makeover, rustic style, salvaged, trash to treasure, tutorial
You might remember that bench...
She was in my Garden Bar post as a supporting player. Nothin' much to look at, really.

But since I've amassed quite a few paint tricks over the years,
it was simply a matter of using those with a few steps, a few supplies, and a few minutes
and that bench went from trash to treasure.
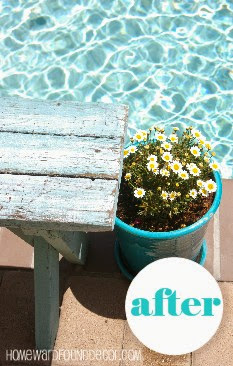
She's got a terrific weathered & worn 'beach vibe' now - ready for Summer!

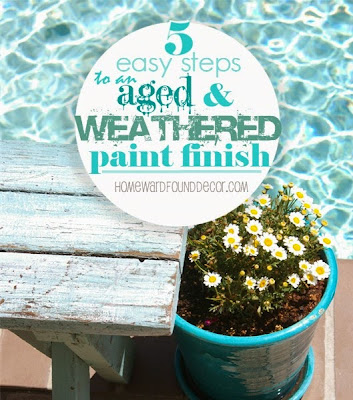
Here's a quick tutorial to show you how to get great results
IN 5 EASY STEPS

Materials:
wood object to paint . paint color 1 . paint color 2 . sand paper . paint brushes
art class, decorating, DIY, fast cheap and easy, furniture, on the porch, painting, summer, beach style, color, diy decorating, faux finish, junk makeover, junking, makeover, rustic style, salvaged, trash to treasure, tutorial
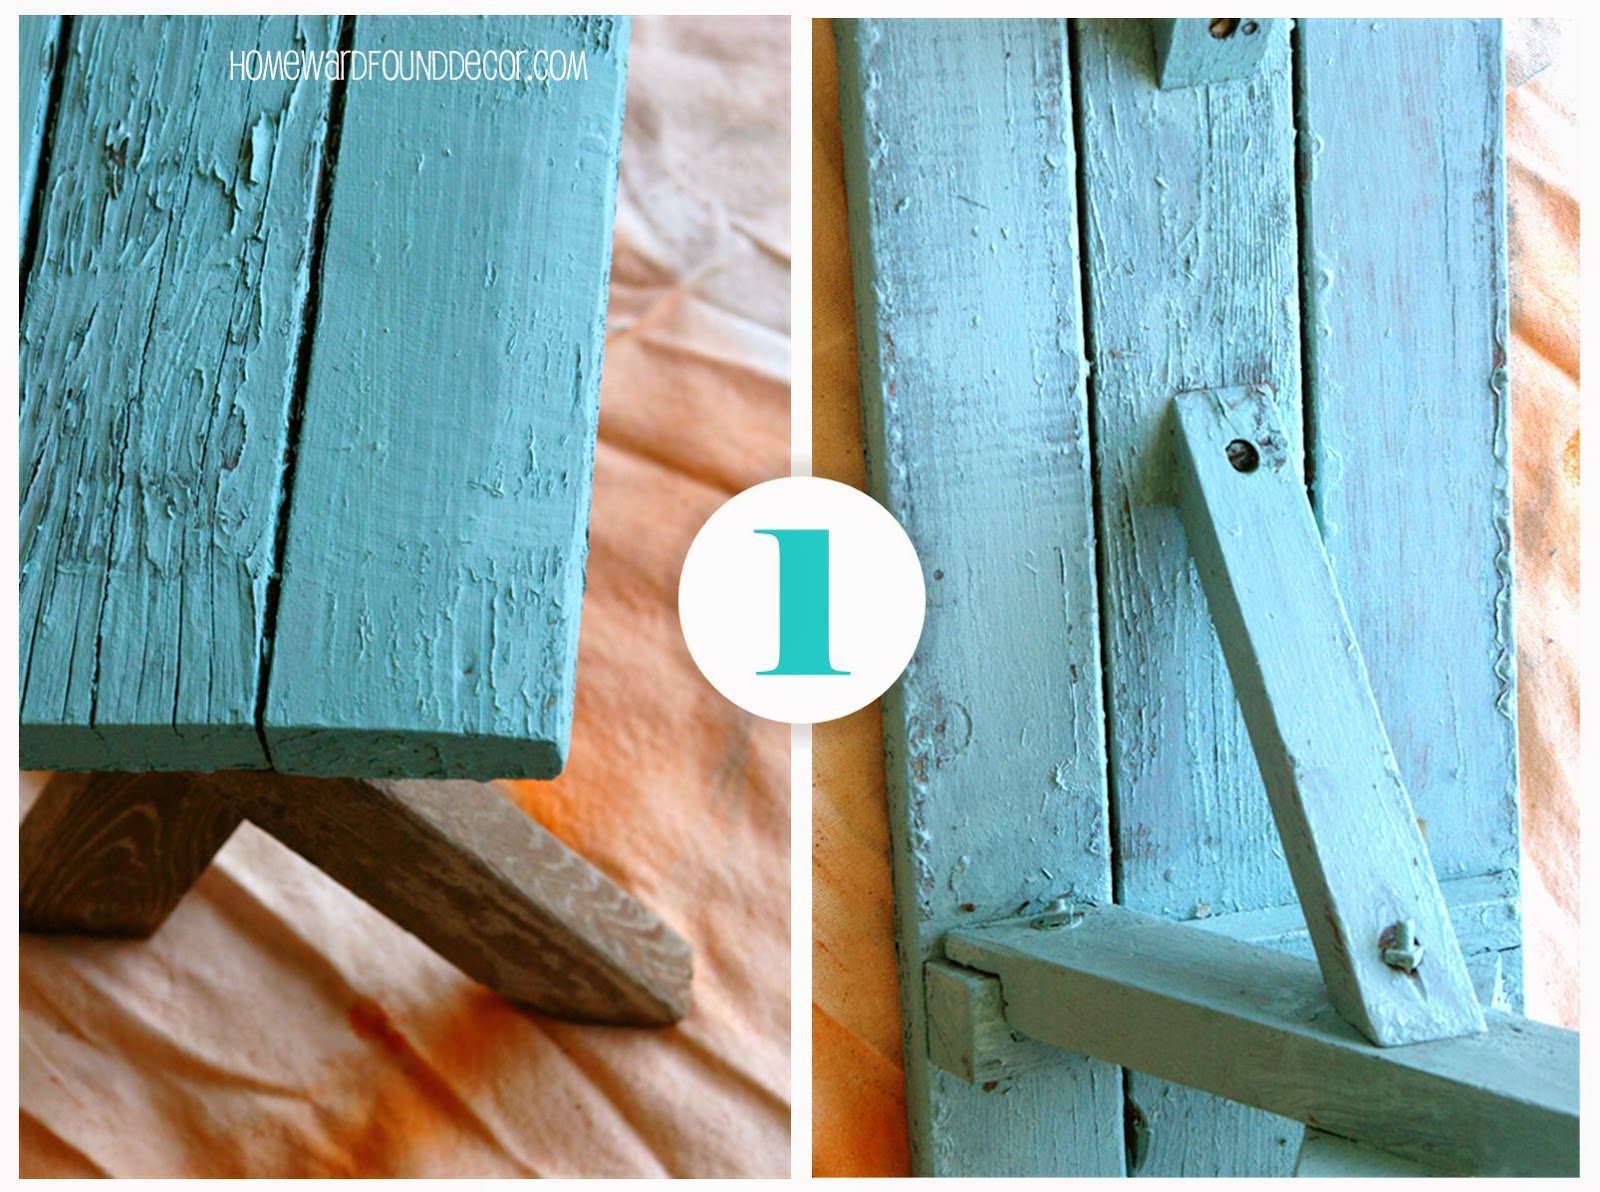
Step 1.
Paint a clean, dry item with paint color 1. Flat or satin finish is best.
Here, the item is an old wood bench and paint color 1 is aqua.

art class, decorating, DIY, fast cheap and easy, furniture, on the porch, painting, summer, beach style, color, diy decorating, faux finish, junk makeover, junking, makeover, rustic style, salvaged, trash to treasure, tutorial
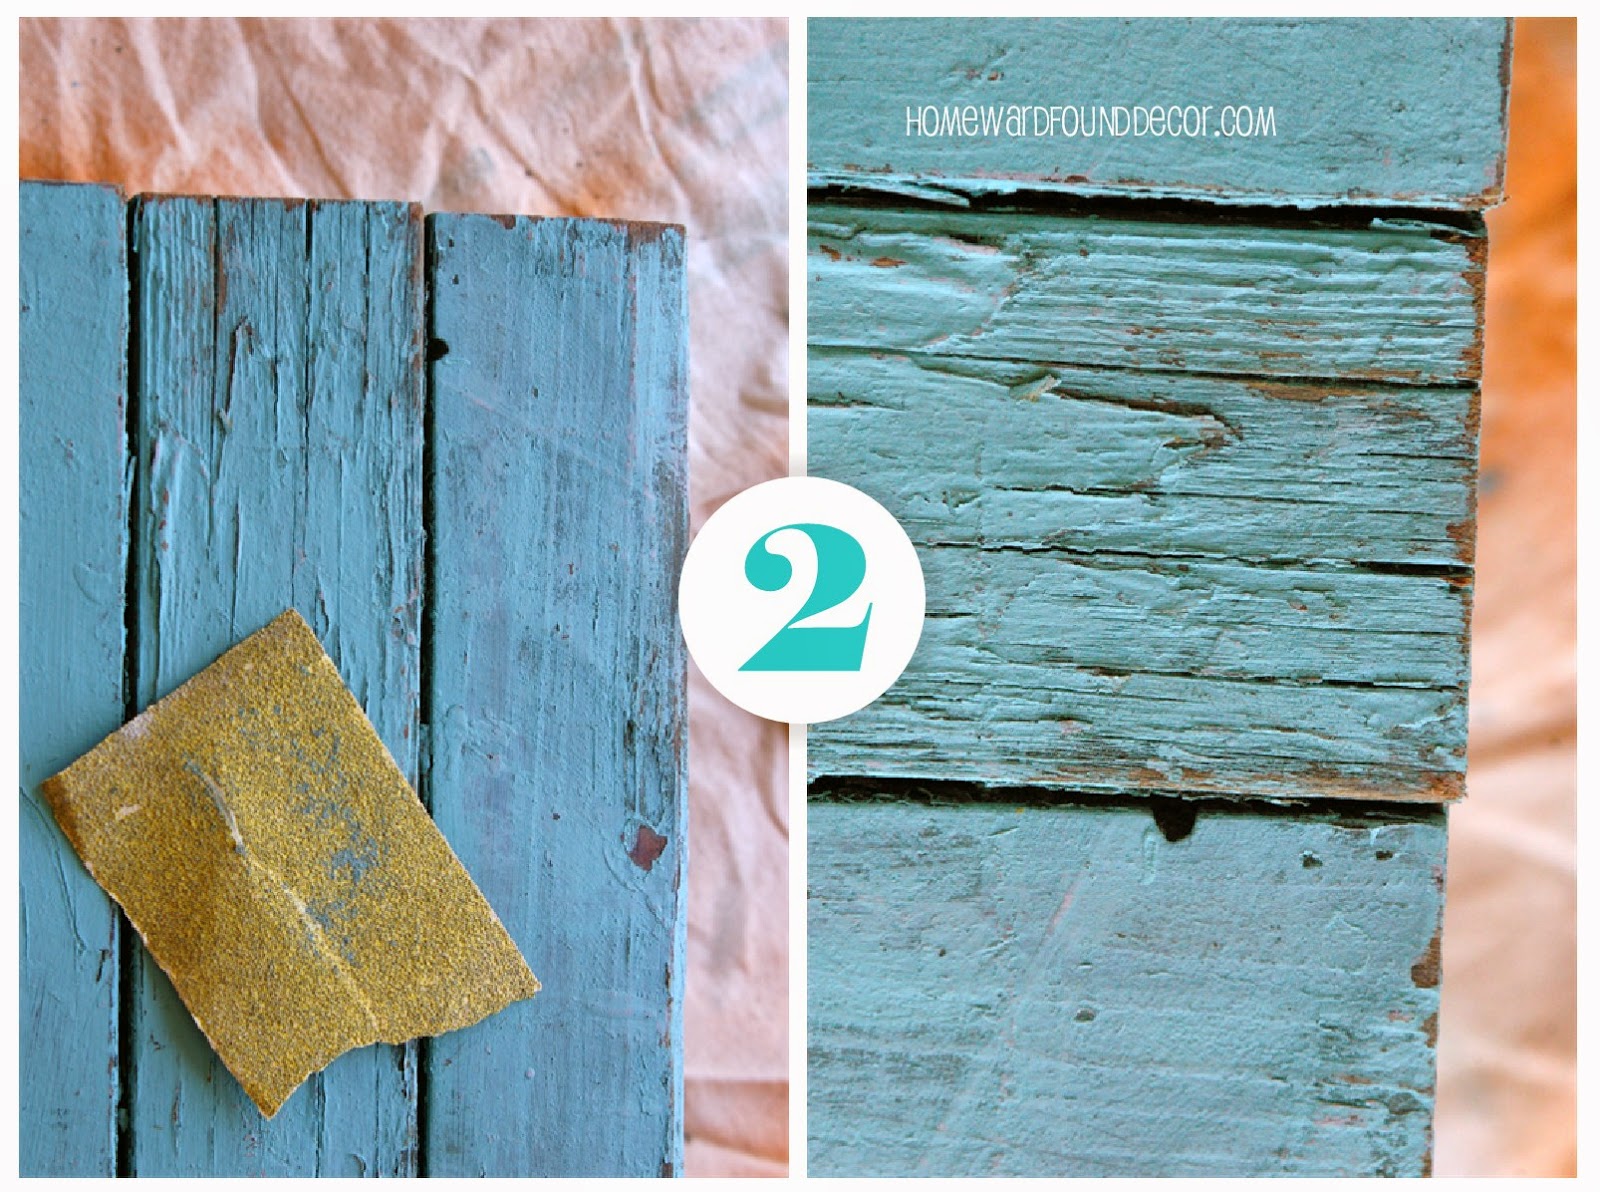
Step 2.
Use a piece of coarse grade sandpaper to sand the piece,
wearing away paint color 1 at the edges and along joints.
Sand in long strokes, not in circles or swirls, so it looks like authentic wear & tear.

art class, decorating, DIY, fast cheap and easy, furniture, on the porch, painting, summer, beach style, color, diy decorating, faux finish, junk makeover, junking, makeover, rustic style, salvaged, trash to treasure, tutorial
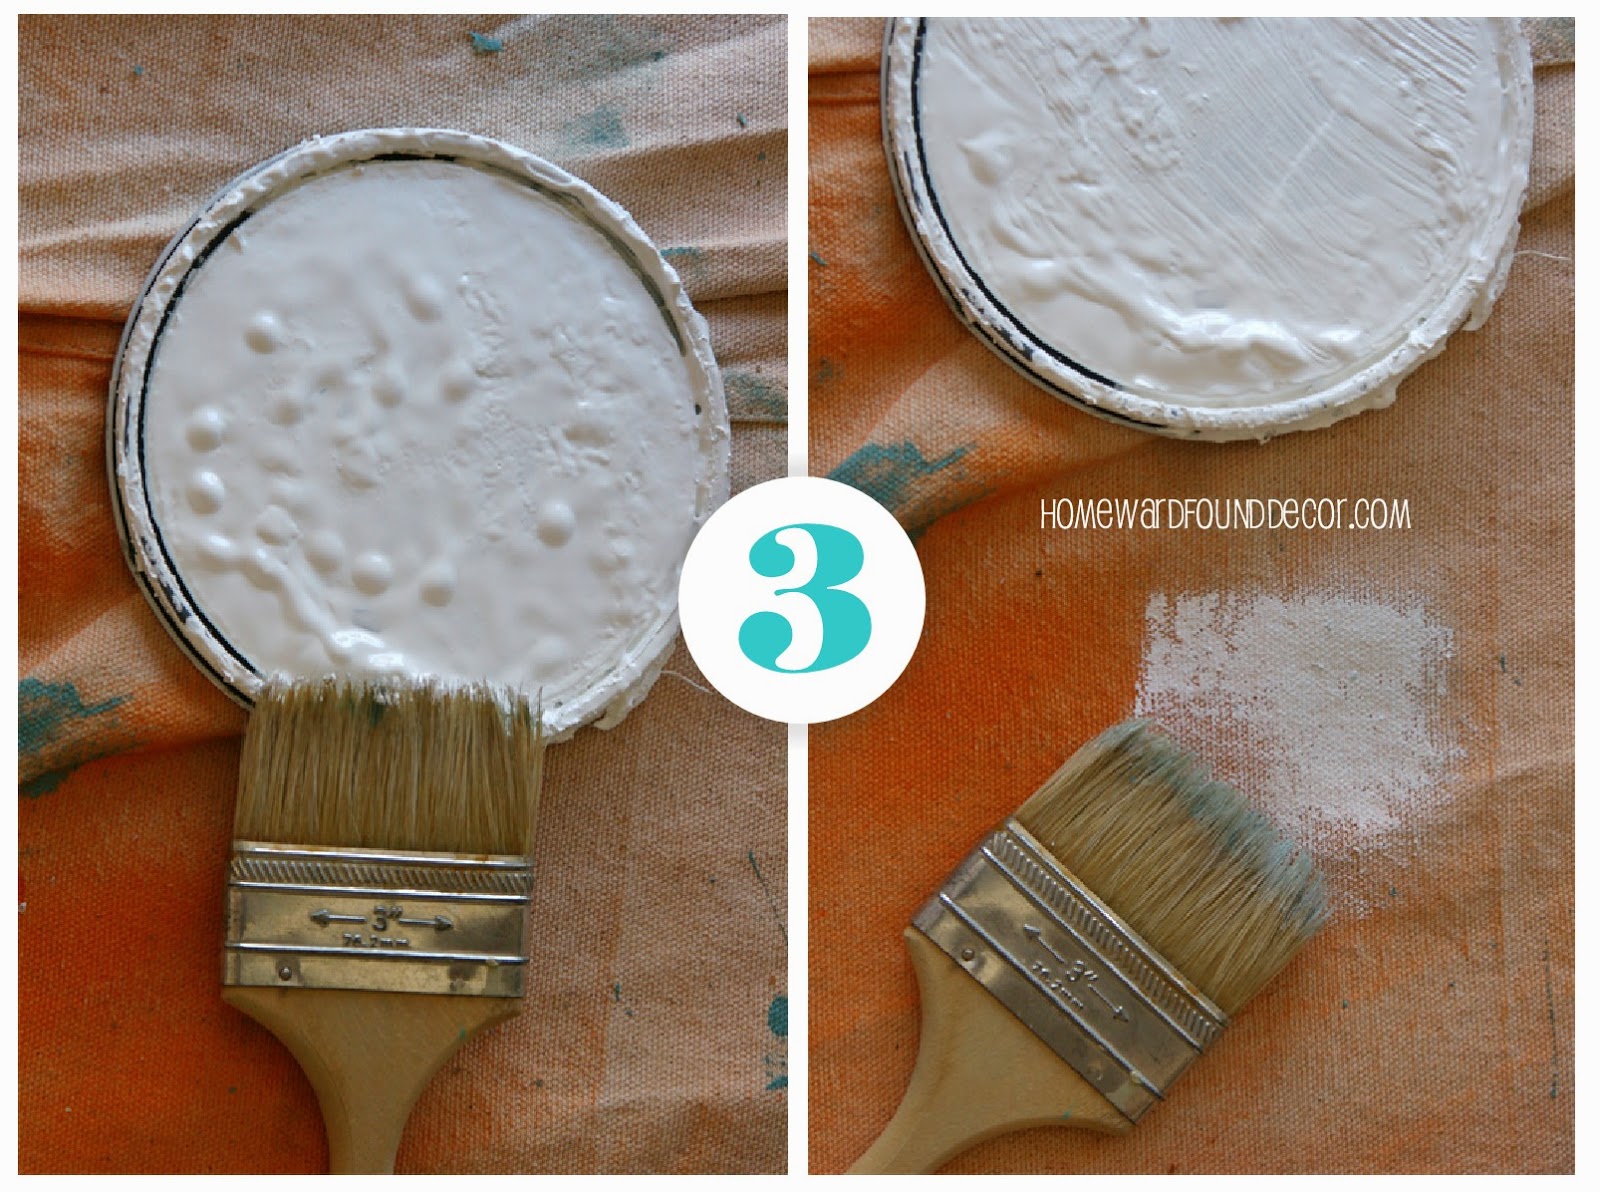
Step 3.
The next coat of paint will be applied with a 'dry brush' technique:

Dip the tips of a paint brush in paint color 2. Here, that color is white.
Then stroke the brush against a dropcloth, rag, or cardboard box to remove most of the paint.

art class, decorating, DIY, fast cheap and easy, furniture, on the porch, painting, summer, beach style, color, diy decorating, faux finish, junk makeover, junking, makeover, rustic style, salvaged, trash to treasure, tutorial
Step 4.
Drag the almost-dry paint brush bristles across the item, depositing a small amount of paint color 2.
Do not press hard, just drag the brush over the item's surface to highlight the texture.
Use long strokes across the length of the item - with the grain.

art class, decorating, DIY, fast cheap and easy, furniture, on the porch, painting, summer, beach style, color, diy decorating, faux finish, junk makeover, junking, makeover, rustic style, salvaged, trash to treasure, tutorial
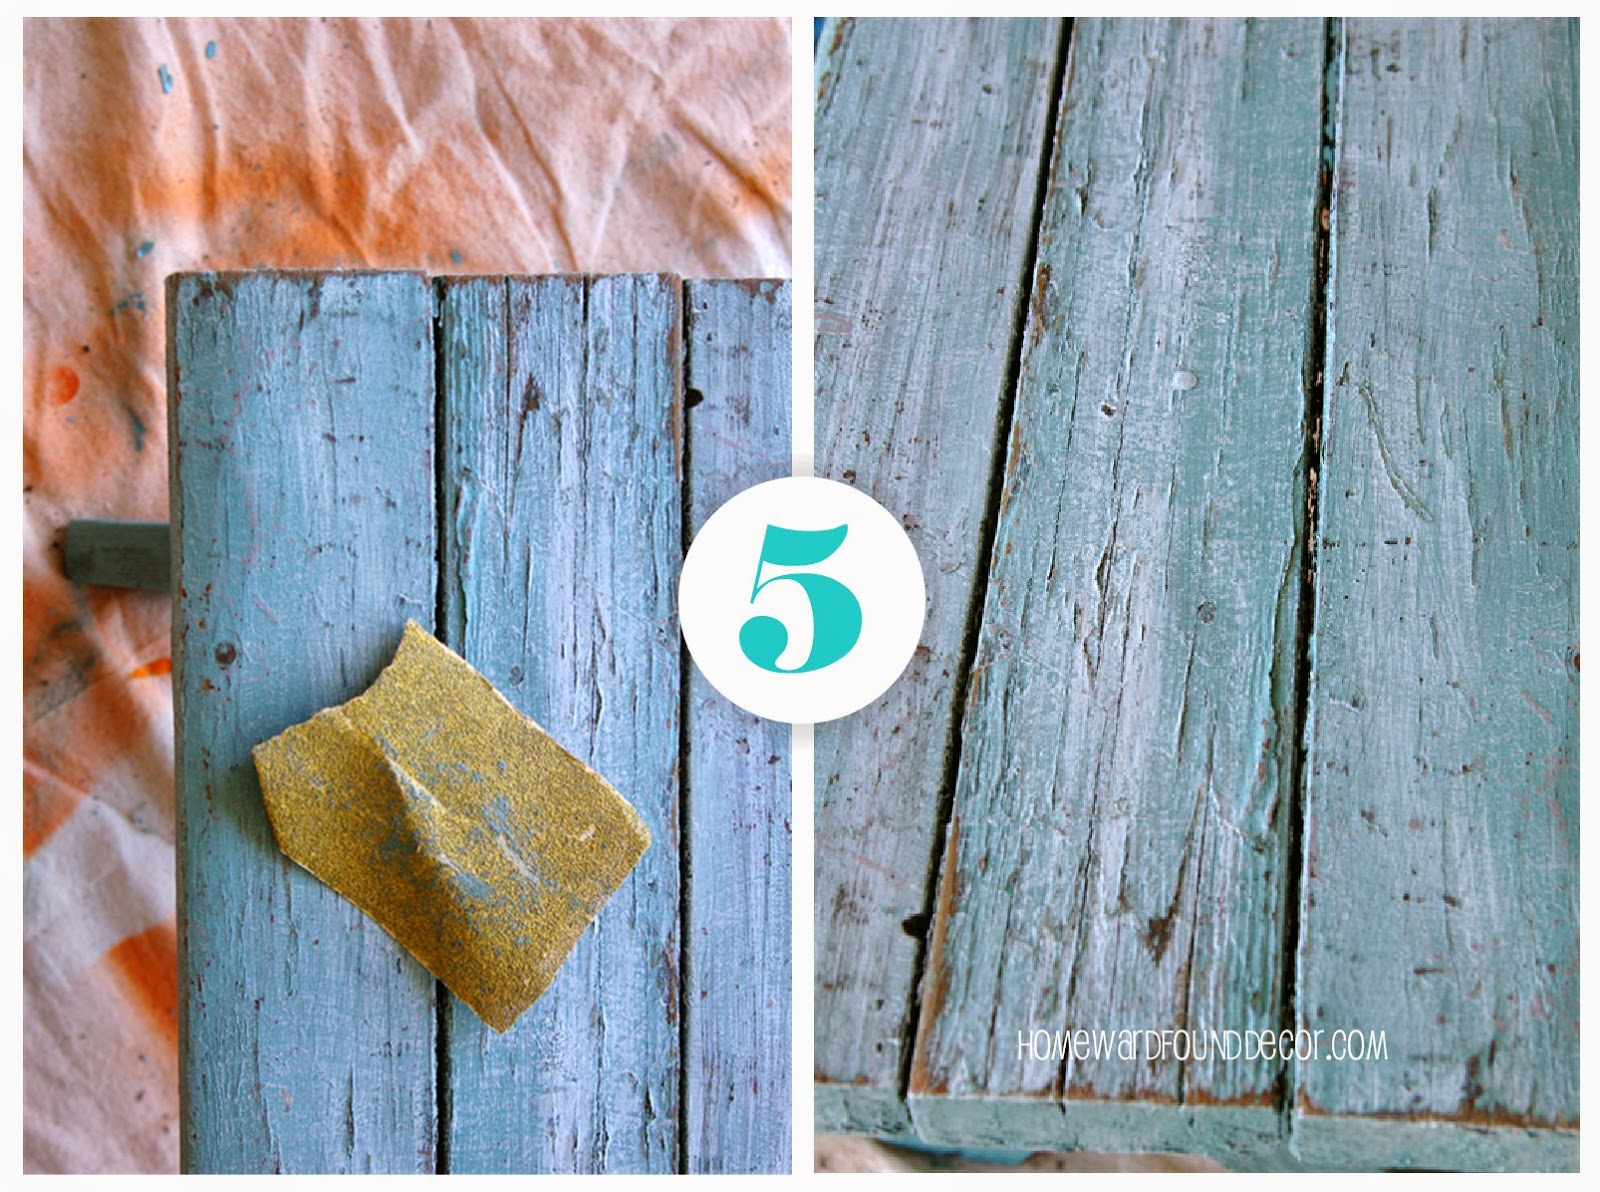
Step 5.
Use coarse-grade sandpaper again to rough up the edges of the item again,
wearing through the white drybrush coat into the base coat.

The effect will approximate that of being left out to weather naturally over time,
instead of looking like an overworked 'faux' finish.

It will weather more on its own if left outdoors, 
or you can add a sixth step: add a coat of clear matte-finish varnish to protect it.

This technique works very well on benches, chairs, tables, 
crates, wood planters, shutters, doors, bed frames, cabinets,
birdhouses, fences & gates, even decks!

Once painted, that overlooked little bench turned in a stunning performance 
in my Breakfast at Tiffany's post!
art class, decorating, DIY, fast cheap and easy, furniture, on the porch, painting, summer, beach style, color, diy decorating, faux finish, junk makeover, junking, makeover, rustic style, salvaged, trash to treasure, tutorial

shared online:

funky junk interiors | diy salvaged junk projects #531

One Project Closer | Creativity Unleashed

Creative Country Mom's Garden | Home Sweet Garden Party
Thank You, Brooke, for featuring my post on your blog! 

4.29.2014

Sweet Simple Nests

Years ago, I was bent on cleaning up some flower beds near my front entry.
I had endured the garish orange day lilies blooming there (planted by the owner of the house),
and now that they had finished, I was ready to eradicate them from my yard. 
I wielded cutters and rake, bringing them to their proverbial knees...

and quite by accident, I discovered a new material to create with:
DEAD foliage.

Deb has not gone 'round the bend here, I swear....

The dried, browned stringy leaves of the daylilies had landed in piles as I trimmed.
And those piles looked like something to me,
so I picked up a hunk of foliage and twisted it around in my palm, 
and Lo and Behold, a NEST emerged!

I created a whole bunch more, and decorated my home with them.
Then I made even  more, and sold them at vintage shows.
When those ran out, I found pots of dead daffodils at the nursery, 
and they GAVE THEM TO ME!
So I made more nests. With FREE STUFF. We ALL like that, right?!

So in case you'd like to try this, here's my SUPER SIMPLE method to
 turn dead leaves into nests in just three simple steps!


Prep:  Get a pair of scissors and some cotton string or hemp twine,
and cut it into a three-inch length for each nest you want to make.

Step 1:
If the foliage is still attached to the plant, in the ground or in a pot, make this easy on yourself...
grab the foliage just above the bulb area, and cut there.

Step 2:
Bunch the foliage into a long strip, and begin twirling it into a circle shape in your hand
by curling the cut ends around toward the strip. 
Twirl it once or twice or three times around, depending on the length of the foliage.

The uneven ends of the foliage should be on the outside of the nest,
giving a more natural appearance to it when done.

OPTIONAL STEP:
Add pieces of thread, ribbon, twine, etc. to the strip of foliage before creating the nest
to make it look more like a real one made by a bird.


Step 3:
Tie a piece of the string / twine around the foliage on the side where the cut ends of the foliage are -
just like threading a needle, feed one end of the string into the hole - and then tie a knot.
This will hold the nest together and keep it from unwinding.
Then cut the string ends off.

Add any charming little details you'd like to...
a tuft of moss, a fading gardenia bloom, rose petals, a precious found object.
I just sit mine in there because I like to change them,
but you can attach yours with glue if you'd like.

Then display your sweet nest as part of your Spring decor!
Here are two ways I displayed the nests I made:

An aqua glass candle holder lifts the nest up like sculpture,
while the galvanized lantern functions like a tiny house for a bird nest.

You can see more of my nest creations on HOMEWARDfound
 Here . Here . Here . Here

shared online:

Yesterday on Tuesday | Project Inspire{d}
(Malia Featured my sweet nests!)


4.22.2014

Mossy Mossy Mossy

So, after the Easter eggs and bunnies are packed away, 
what does Spring look like for you?

Me? I'm partial to MOSS.

...and yes, just as my silly title above indicates, I can't say 'Mossy' without thinking
"Fosse, Fosse, Fosse" 
[ which is a funny line from the movie 'The Birdcage'... look it up ;) ]

 I don't go for that 'sanitized' & bagged moss from the nurseries & garden centers, however...
nope. I like my moss straight from the shadiest corner of the yard, thankyouverymuch.
Twigs and weeds and all. Just scoop it up (using a pie server or spatula, of course) 
and pop it into containers like terra cotta pots and brandy snifters!

I shared a tutorial on making FREE moss terrariums HERE last Spring!

I loved this 'moss handbag' planter when I saw it at Roger's Gardens in Newport Beach, CA.
It inspired the moss-filled wire basket that I just made for Mom's front door.
[ The moss is real, the roses are faux - salvaged from an old wreath ]

These hanging moss balls used as planters are at the entrance to Roger's Gardens this spring,
and they spin a bit in the wind. 

Very sweet - and EASY to replicate!
* Grab a grapevine orb from the craft or dollar store 
* Wrap it up with sheet moss 
* Fill the inside of the ball with potting soil
* Plant a little fern or begonia into it
* Attach a string or wire, and hang from your patio cover....
OR, simply place the moss ball into a martini glass to display it indoors or on a table!

 One of my favorite haunts up in Washington state was Christianson's Nursery in the Skagit Valley.
There is a little shop in the center of the nursery called 'Primrose',
and every season, they create charming displays with natural elements and vintage goods.
I was always inspired when I visited,
and looking at these images of a spring tablescape, you can see why!
They really know how to use the ABUNDANT moss in the Pacific Northwest!

I would even put up with sanitized moss to create a table like that ;)

3.19.2014

Re-Purpose a Rain Chain!

A recent visit to my local nursery netted some bedding plants - AND this great idea!
That's a copper 'bucket'-style rain chain, available in their garden tools area...

But they've re-purposed it into a hanging planter for posies!
Each 'bucket' holds soil and a little pansy plant,
creating a charming spill of blooms to hang from your porch or patio roof or posts.

It would also be darling as color-coordinated event & wedding decor!

shared online:

Cupcakes & Crinoline | Project Inspire{d}

One Project Closer | Creativity Unleashed

featured:
I was featured at Creativity Unleashed!

.XX 

3.13.2014

fool the eye spring flowers

We all love bringing beautiful blooms home from the nursery, don't we?!
Their happy colors bouncing on long stalks bring energy and life to our surroundings.
I had this pot of GORGEOUS yellow tulips - which you saw in the photo below in a recent post.

And then the Santa Ana winds blew. I think the yellow tulip petals all ended up in the Pacific Ocean.
And the potted tulip looked like THIS:


Well, as a stylist who has had to come up with instant solutions on a budget for client event decor, 
I have a fail-proof tip for making bulbs RE-bloom. In the SAME SEASON:

FAKE IT!
Yep.... use fake flowers.  
You just have to use them in a way that no one notices!
Here's what you do:
 * Grab some decent quality silk tulips in your favorite color.

* Strip the leaves from the stems, and bend the stems rather haphazardly to look natural.

* Insert the stems into the REAL FOLIAGE still in the plant pot.
[I stuck these down on the lowest tier of leaves, right up next to the real stem.
You can see the top of the real stem in the photo - I cut that down as low as I could after the shot.]

Five minutes later, you end up with a rather convincing blooming potted tulip:
I don't recommend this for table centerpieces, 
as they are too close to the viewers' eyes to pull off the fakery with class.
It's a GREAT solution for florals that will be located 
on a stage, at an entrance, or in a photo set backdrop.
Since the foliage is real, the flowers fool the eye into thinking THEY are real, too.
I used to tuck REALLY nice faux roses into the backs of large arrangements for events,
to help fill out the form and help the budget along (they can be re-used!).
I'm talking million-dollar events at wineries, photographed by media.
No one EVER noticed the fakes!

Last Spring, I shared another 'bloomin' flower secret'
and my tips on creating vintage-look faux flowers

shared online:

Cupcakes & Crinoline | Project Inspire{d}


3.10.2014

Spring Garden Inspiration

Looking for inspiration for your Spring decor and party themes?
Look no further....

The darling and VERY talented Monique outdid herself with the front entrance vignette at The Vintage Marketplace Show!
She hauled in all of this stuff from her house - it's all HERS, not for sale -
and styled this charming garden scene for everyone to ogle, photograph, and enjoy at the show.

Just take a gander at the glorious garden she created:
That's Miss Monique working on final details - in platform shoes, no less!
The main scene in the vignette is the giant window backdrop, bookended by regal vintage columns.
A porch swing hangs from the overhead architecture,
and garden plants and accessories bring a perfect garden to life...
Above,  more details of the main scene
To the left of the main scene, a small table and chairs create a perfect tete a' tete setting,
propped and ready for afternoon tea... right down to the dress and parasol!
A closer look...
Closer to the front on the left are more charming details:
A large birdcage with a flowering plant inside sits on a table covered with a tutu!
A vintage white bicycle's basket is filled with moss, a tutu, and garden accessories.
To the right of the main scene, a mirrored vanity is propped with vintage prom dresses and accessories.
The tiny dressing chair has a tutu cushion, and a bitsy birdcage sheltering a tiny chandelier ornament!

I shot these images in 2014... Update for 2016:

Do you love vintage-style decorating?

Don't miss this beautiful vintage show, held each season in Southern California!


Images in this post taken by Deb Kennedy of HOMEWARDfound Decor.
Decor design & styling of privately-owned props (NFS) by Monique.
The Vintage Marketplace Event is hosted by Christie Repasy and Rita Reade.
 

shared online:
 Cupcakes & Crinoline | Project Inspire{d}
One Project Closer | Creativity Unleashed