. -->

5.01.2013

Tutorial: May Day Tin Can Flower Baskets

Happy May Day!
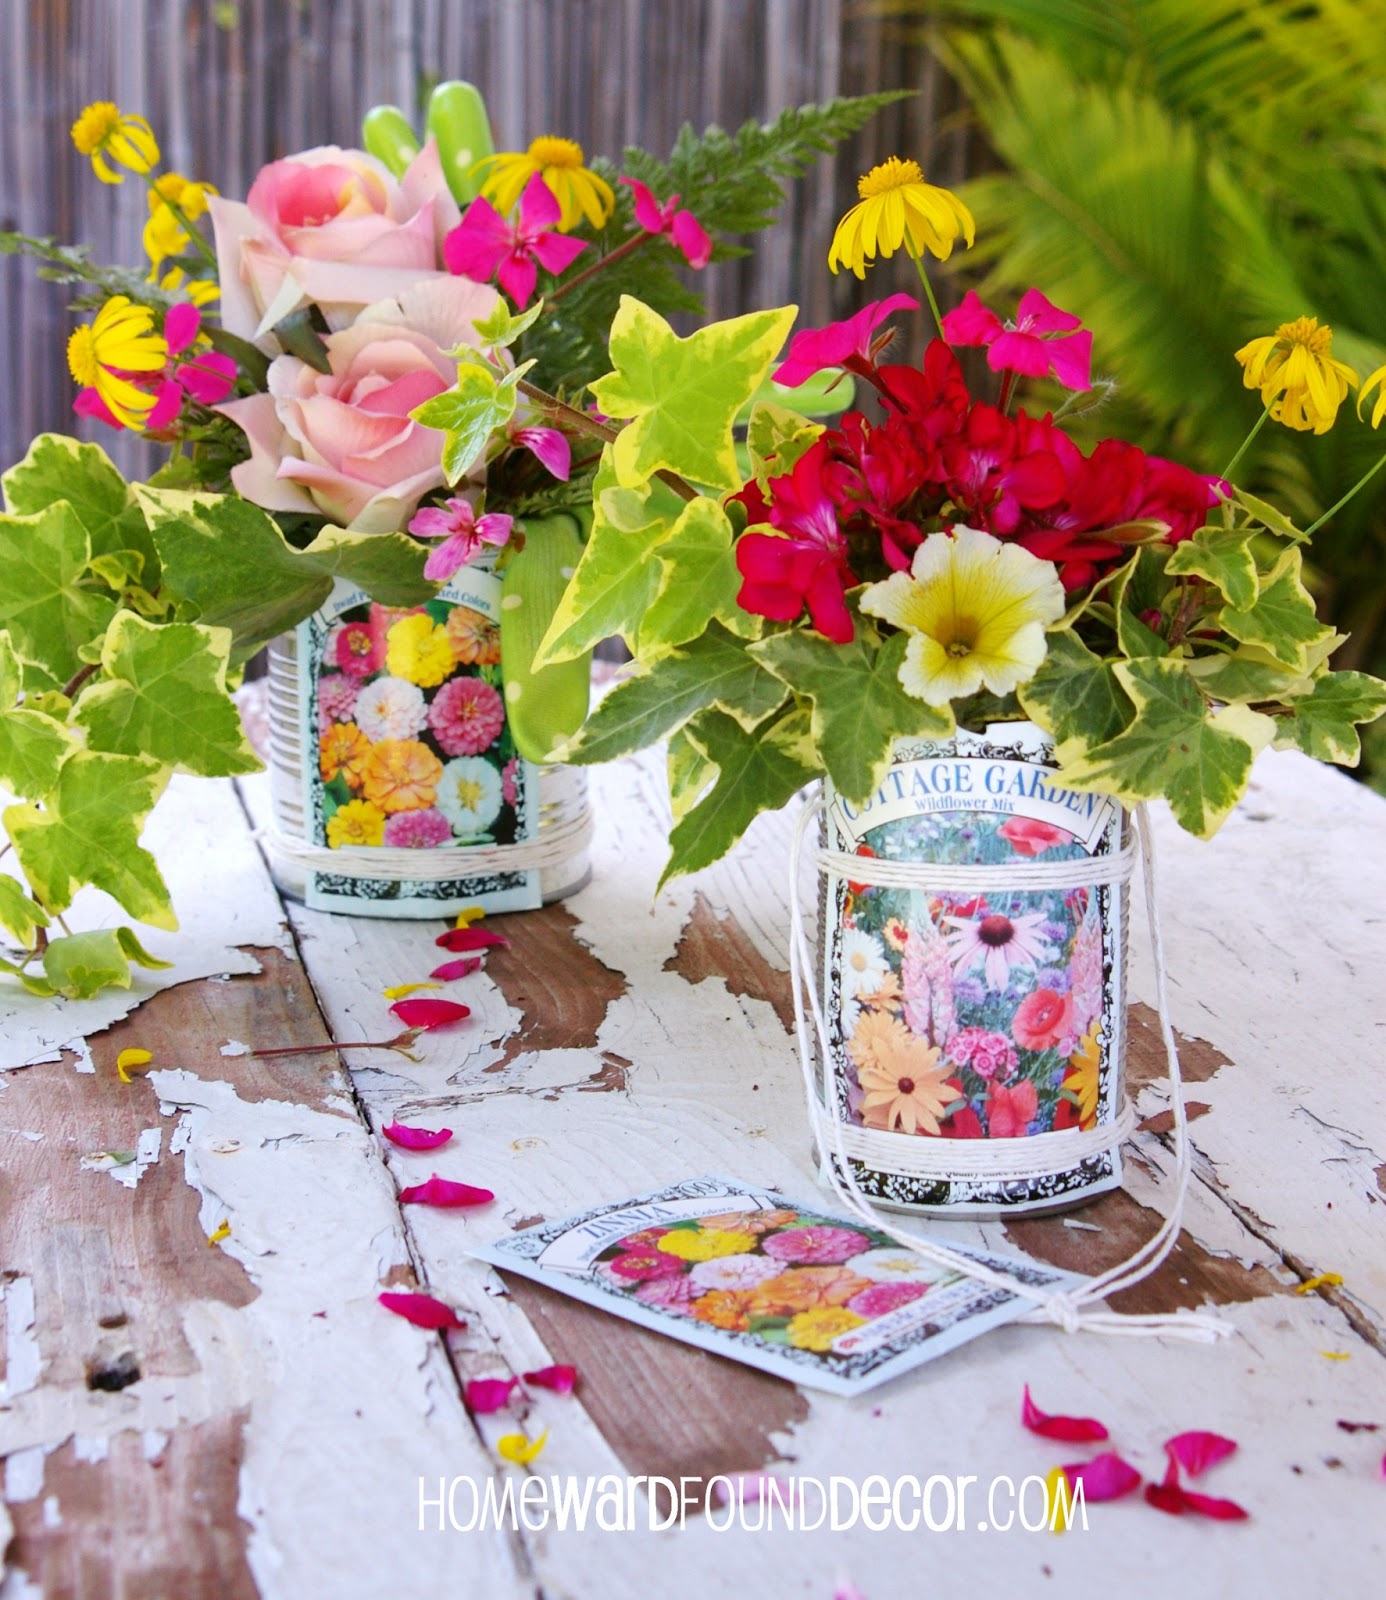
I've been making this cute Spring craft for decades:
flower buckets made from upcycled tin cans and seed packets!

I've had a 'thing' for upcycling tin cans for quite a while...
Back in the 90's, I had a decorative painting business
and made these pails - and I handpainted 'vintage'-look seed packets on the front of the cans. 
Hundreds and hundreds of cans!
 I really loved my friends in the restaurant industry, who supplied me with all I could want.
I painted and sold these with designs for every season and every holiday,
in practically every shape and size of can that exists. Mine had little wire handles, too...
see my Painted Pails here!

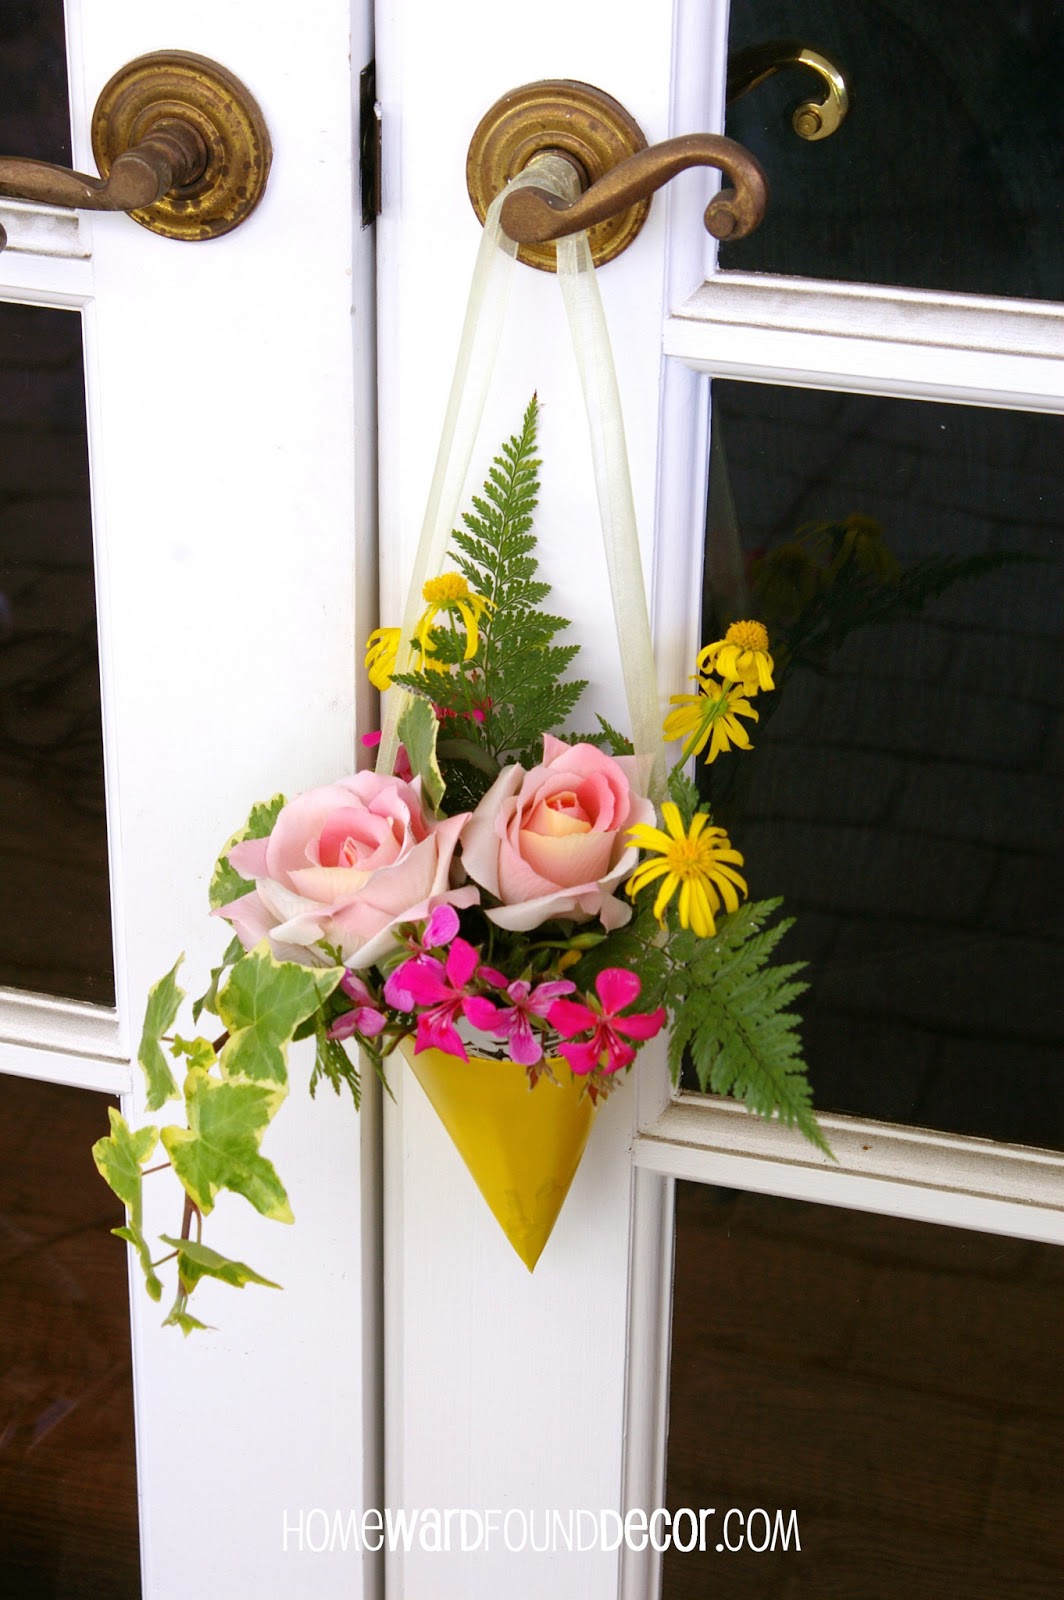
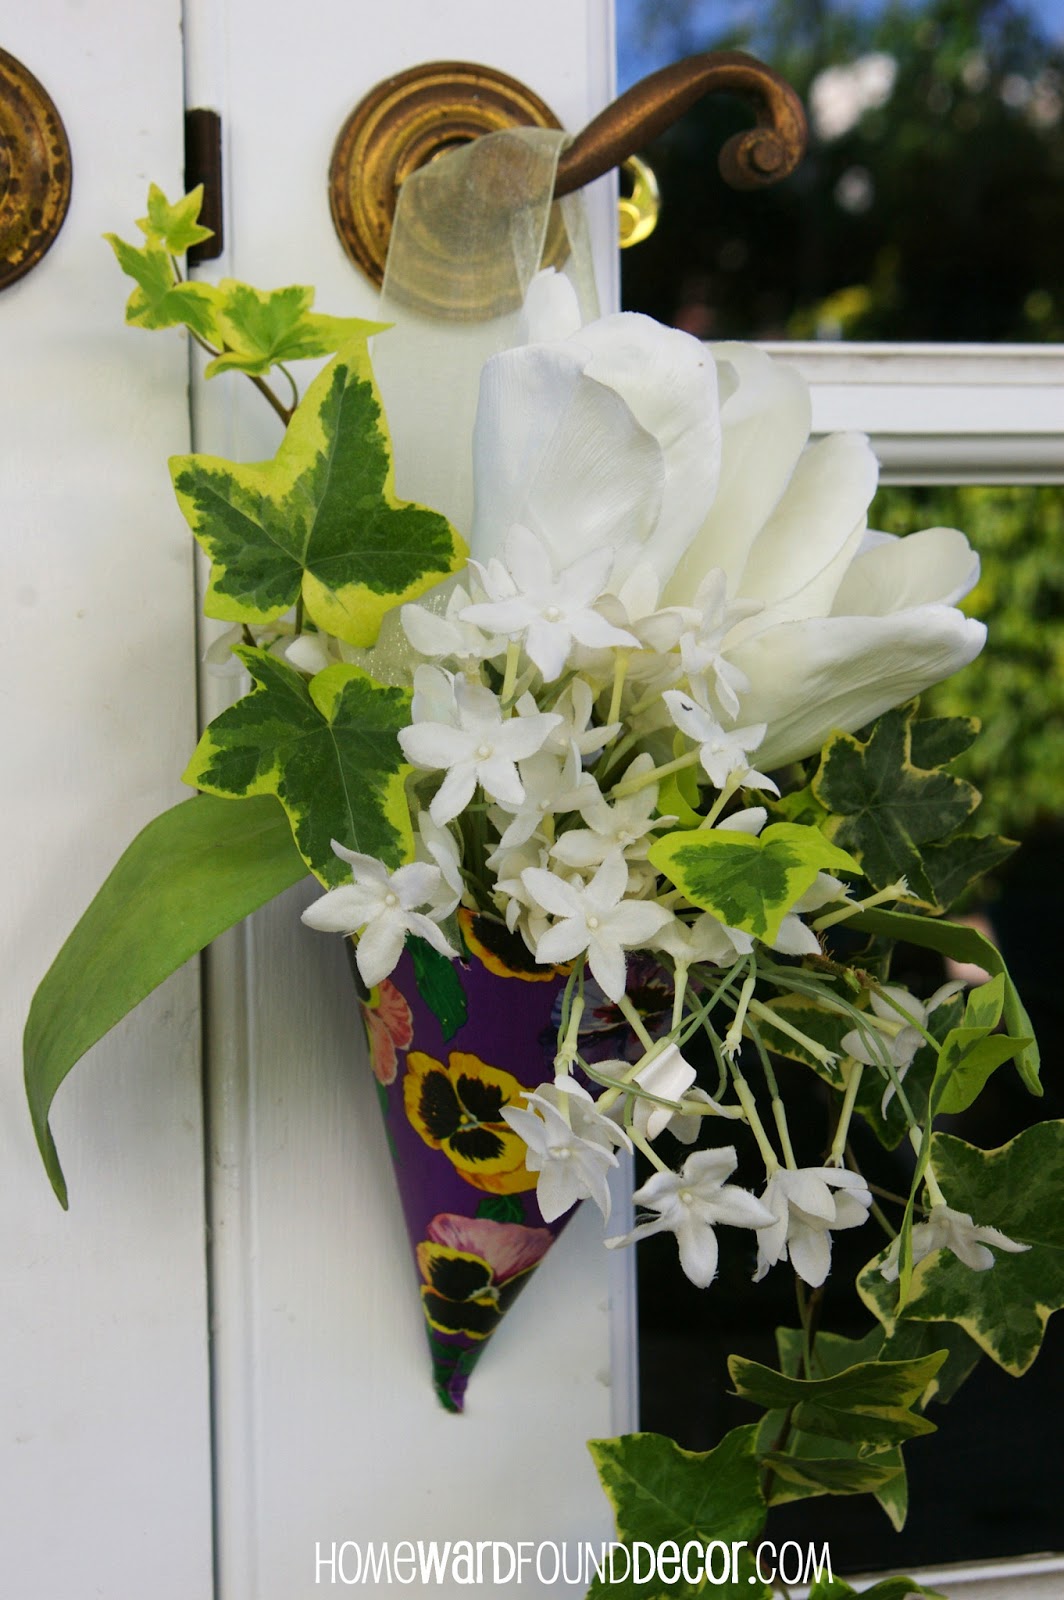
Now I've created this version that requires NO painting!
You'll love this 'Fast, Cheap & Easy' TM project -
and will have little buckets of flowers to share with everyone today!

 Supplies:
* empty tin cans with lids removed
* seed packets (full or empty)
* string or garden twine & scissors
* manual can opener (with pointed end)
* glue stick optional
* flowers clipped from your yard (or 2" potted plants)


1. wash empty tin cans and remove paper labels [GooGone works well on stubborn glue]
2. use can opener to pierce two holes at top edge of either side of can (point down)
3. use back of can opener to roll and press punctured metal FLAT on inside of can (no sharp point)
4. lay can on side, and lay seed packet over the seam of the can (or over stubborn glue spots!). 
glue in place with the glue stick if you wish.
5. cut @ 24" piece of string/twine and wrap it several times around the can and the seed packet,
 near the bottom of the can. Repeat with another string at top of seed packet/can.
6. tie strings tightly on the back side of the can to hold the seed packet in place.
7. cut @ 24" piece of string/twine, double it, 
and pass the ends through both holes on the sides of the can. tie ends together to form hanging loop.
8. fill can with water (@2 inches) 

 9. add flowers!

 10. hang up on a doorknob or display on a tabletop, counter, or shelf...


You can use empty seed packets, or ones that are still full of seeds - 
and if you can fill the can with the same kinds of flowers that are on/in the seed packet,
it's a doubly sweet gift.

[PS: I found these pretty seed packets at the Dollar Tree store - ten for a buck!]


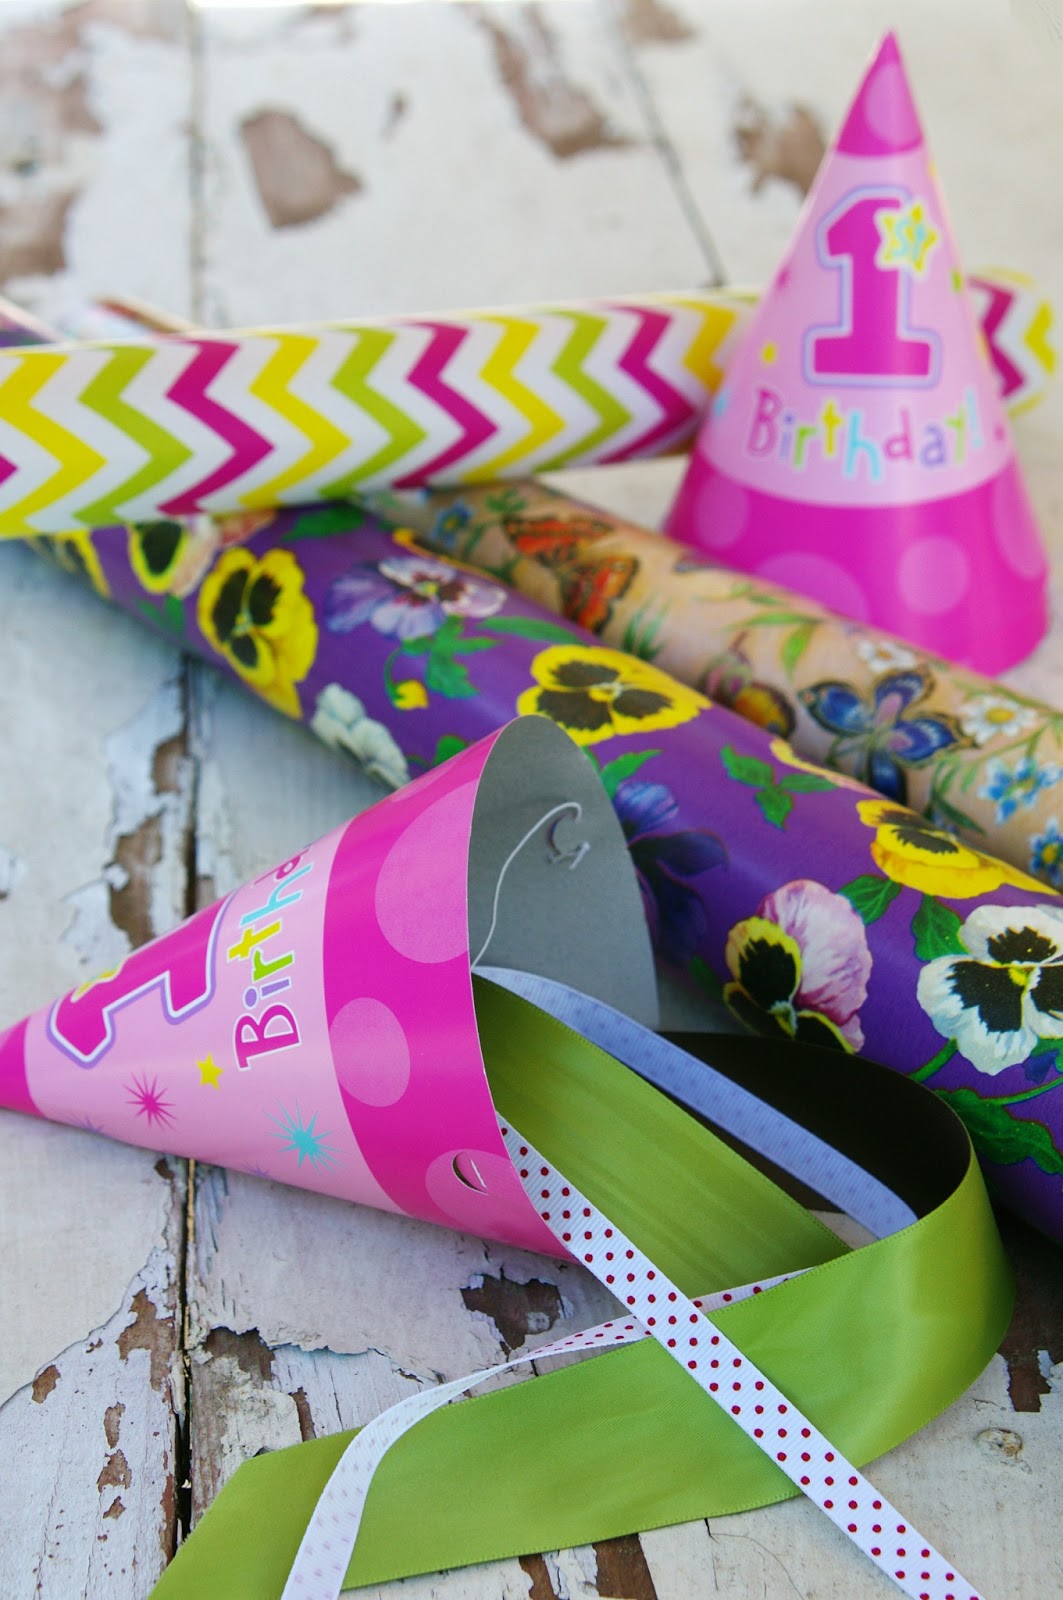
This project inspired a party decor theme for Mothers Day!
See more in this post


shared online:

2016: Project Inspired{d} Party


one project closer | Creativity Unleashed

creative country mom | Home Sweet Garden Party

the answer is chocolate | bff open house link party #26

featured:
see post here


4.30.2013

upcycled paper party hat May Day baskets

May Day flower baskets, repurposing, upcycling, paper crafts, paper party hat crafts, Dollar Tree crafts, gift wrapping, flower arrangements,
With May Day just a blink away,
I thought I'd share this SUPER EASY project tutorial with you
so you can share the gift of flowers with family & friends...
let's make flower baskets / cones from paper party hats and gift wrap!

For this project, you'll need:

* old paper party hats
* leftover gift wrapping paper in bright colors and/or prints
* some snippets of ribbon (@ 18' long)
* scissors and a glue stick
* 1 plastic sandwich bag and 1 rubber band per basket
* flowers clipped from your yard or a field

1. & 2.use the glue stick to attach a piece of gift wrapping paper to a hat - start by gluing one edge of the paper at the seam of the hat, roll it around the hat, and glue in place at the seam again.
3. use scissors to trim paper to an even depth around the rim of the hat - leave @ 1 inch for folding over.
4. fold paper into the inside of the hat, 'pleating' it neatly as you go.
5. poke a hole through the gift wrap and the hat on each side, right where the elastic chin-band is attached. the hole needs to go all the way through.
6. pull both ends of the ribbon through both holes, so that the ribbon forms a large loop above the cone. tie the ends of the ribbon together so that they sit inside the cone.

If you want to add a special embellished collar to the cone, add it now.
This is a laser-cut paper cupcake wrapper, simply taped into the inside edge of the cone -
It took two wrappers to fit the cone.
7. fill the sandwich bag with @ one ounce of water. roll the edges down and slip the rubber band over the bottom of the bag - cinch it twice to hold the top closed and keep the water inside the baggie.
8. there will be a very small hole at the top of the baggie - tuck your greens and flowers into that hole. it will hold more than you think!
9. then place the baggie inside the paper cone - a great way to stabilize the cone is to sit in inside a glass to hold it upright as you work. this pilsner beer glass is the perfect shape for the cone!

Your May Day flower baskets / cones are ready!
Display them upright in glasses or vases or hang them on a door or cabinet knob.

Here are a few shots of my creations to inspire you:


 I added faux flowers and a flower seed packet to the real ivy in this flower cone, 
and hung it on the front door to welcome May in style...


2021: many thanks to homebnc for sharing my tutorial in their post!

shared online:

2021 funky junk interiors | diy salvaged junk projects #574

2013 creative country mom | Home Sweet Garden Party


4.29.2013

Chandelier Fountain

I was enjoying the lovely blooming surroundings at local garden retailer Roger's Gardens on Sunday...
reveling in the birdsong, snapping photos of the roses,
and taking in the incredible feats of retail display work throughout their vast property.
The visual team is AWESOME!

... and then I rounded a corner and my jaw hit the floor.
I stand corrected: The visual team is made up of GODS.

Look again at the photo above.
Do you see what I see?  What assaulted my senses as I rounded that corner?

There is a stream of WATER dripping down that crystal chandelier
and into the fountain below!

There are many chandeliers in their visual prop closet, used in many ways in the store...
 they also had them over the Halloween banquet table that I photographed last fall:
My guess is that this chandelier somehow broke and was no longer functioning
so they came up with a STUNNING new way to use it.

It's one of the most original ideas I have seen, which is why I just had to share it with you!

In answer to the "How'd they DO that?" question in my head
[that may just be rattling your brain right now],
here's the answer:
 I spied a large fountain tube running from the fountain base up a nearby post, 
across the ceiling,  and down the back side of the chandelier
where it funneled water down the center of the chandelier and out the bottom.
[I didn't see the pump, but that thing has to be really powerful
to move water that far!]

NOTE: This chandelier is NOT electrified. There is no power to it.
They may have actually stripped out the electrical system, I don't know.
If you try to do this at home, please DO NOT use a working or wired chandelier.

A crystal chandelier that drips not only glistening, sparkling crystals... but also water. 
Now THAT's a way to make a splash!

I can just imagine doing this at a wedding reception,
or even in an elegant bathroom or greenhouse.
And what about a beautiful birdcage as a possible fountain?!
Isn't it fun to look at everyday things and see so many MORE possibilities???

Again, this is not MY project...
I just saw it and wanted to share. The photos are mine.
Find Rogers Gardens in Newport Beach, CA and online here


shared online:

Blog Hop | DIY Doyenne

4.25.2013

It's My Pot-ty and I'll Hoard If I Want To!


I just love terra cotta pots!
They are such a versatile decorative element...
I can ALWAYS find a way to use them, in every season.

Driving down the road one day about eight years ago,
I saw something that caused me to slam on my brakes:
There were terra cotta plant pots 
sitting in boxes and standing in stacks in a yard by the side of the road.

Lots of them.

Lots and Lots of them.

Lots and Lots and LOTS of them....

and next to them, there was a sign:
'FREE!'
Be.Still.My.Heart! 

Just LOOK at some of the vintage ones in the mix:


so you know what happened next, right?
uh huh.
 I quickly loaded those babies into my trusty Isuzu Trooper 'Suzi'
[oh, how I miss her], took them HOME with me,
...and they lived happily ever after!

In my yard...

In show displays...
 DETAIL:
underneath that cool old stove above, a broken pot adds charm....

The last of them ended up in my gardenhouse...

and then when I left Seattle in 2012, I gave them away.
[Yes, that was hard - but necessary at the time.]
I'm sure that in the future, I'll amass another collection!

I love bringing them into the house and using them, too...
Gather them on a platter or in a crate, sit them on a miniature chair,
add a little moss, tuck in a blooming primrose or tulip,
dome them under glass, set the table with them...
EASY!

I'm a purist and generally don't paint or embellish them for my own use -
but I've seen some very cute ideas out there!

What's YOUR favorite thing to do with terra cotta pots?