. -->

6.03.2014

Re-Imagine, Re-Use!

On Sunday, I visited my local antique flea market - and found treasure:
I scored this vintage wire plant stand for the bargain price of just twenty bucks!

I fell in love with the industrial vibe, the chippy white paint and rusty metal,
the slender wire form and small size - it's light and easy to move around -
and it doesn't take up a lot of space. That's a big criteria for me right now.

You all know that I hardly EVER use something as it was originally intended to be used!
Because I know I will use it in MANY different ways over the coming years,
it's an even better bargain.

So, let me share with you the 'RE-use' ideas that I've come up with so far
for this simple plant stand...
First, I sat the stand up on top of a dresser in my studio / office,
where it made a perfect book case.
It holds design reference books to keep them close at hand
without being a big clunky piece of furniture.

Then I sat it on the floor, next to the twin bed 'sofa' in my office.
Topped with a pre-cut piece of round glass, it becomes a table -
and the perfect place for my water when I sit and read through those reference books above!

Next, I took it downstairs and sat it by the front door...
where it serves as the perfect catch-all for flip flops, sandals, totes and hats 
when I come in from the beach.
All the sand just falls through to the floor, where it's easy to sweep up!

In the guest bath, the stand holds fluffy towels and luxurious bath accoutrements
 [ those sleek white ceramic trays are actually appetizer plates! ]
A hand towel hangs perfectly from the front edge of the top shelf.

In the nearby family room, it adds height to a built-in serving bar,
where it holds wine glasses, wine bottles, and a serving container
that will eventually dispense fruity Sangria on a hot summer day.
This way, the rest of the bar can be used for serving food.

In a similar capacity, the stand sits on a patio table poolside,
and organizes paper & plastic picnic ware.
Just add food!
[ and don't you love the colorful beach towels as a tablecloth?! ]

In another poolside use, it holds beach towels at the ready
for swimmers exiting the pool.
Flip flops could be stored beneath it, too!

.. and finally, it nestles up to a wicker chair as a side table.
With a plant. ;)

As I was writing this post, I thought of yet another idea:
Hang the wire stand on the wall, and use as shelves to store
laundry soaps, etc. in the laundry room
or craft or gift wrap supplies in the office / studio / craft room!

I think the possibilities may just be endless... and it was $20 well spent!

What would YOU do with a piece like this?

Share your ideas in a comment!

shared online:


Yesterday on Tuesday | Project Inspire{d}


Practically Functional | Creativity Unleashed


Creative Country Mom | Home Sweet Garden Party

5.29.2014

#MAYkeovers Round-Up

As of May, 2014, there's this #MAYkeovers hashtag 'thing' going on all over social media, 
and I thought I'd just jump into the pool with everyone else! I hope you enjoy these...

Here are the links to ALL of my  
Low/No-Cost Makeover / #MAYkeover Projects:
FREE Weekend Makeover 
Thrifty Weekend Makeover
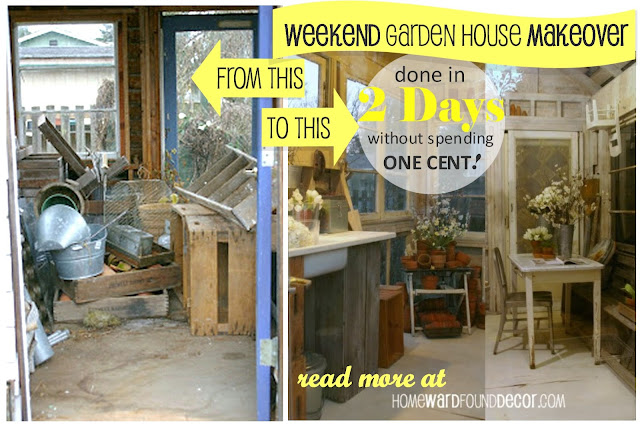
Weekend Garden House Makeover

shared online:


Practically Functional | Creativity Unleashed

5.28.2014

Backyard Bistro

While it's easy to haul out the plastic lawn chairs and folding tables for summer gatherings,
it's not much harder to pull together a stylish outdoor setting
that you can enjoy every day...
 just think 'Bistro' style, and your back deck or patio
could feel just like your favorite neighborhood cafe'!

By using simple furnishings and accessories that you may already have, 
you can create a welcoming and comfortable dining nook outdoors.
It doesn't take a lot of space, either!
A vintage wood table and two metal chairs snug up to the deck railing here,
just as they would at a trendy bistro!

Dressing the table with a white tablecloth
and hanging another as a temporary curtain to block the sun, 
elevates the setting to more than 'picnic' style.

( BTW, the vintage stove in the background has been retrofitted as a bbq,
and the vintage fridge is now a smoker. )

A bouquet of flowers and herbs from the garden finish off this relaxing setting,
perfect for enjoying a late afternoon glass of wine alone or a morning cup of tea.

 Gathering up a few pieces from other areas can easily create 
seating & eating areas on small decks or patios:

On the left, casual beach style is achieved with whitewashed furnishings, crisp striped linens and rug, 
and galvanized metal accents.

On the right, a pretty garden setting is created with white metal lawn chairs and a park bench,
 tucked up to a more modern metal & glass round table.
Accessorize with potted plants and whimsical wire accents,
like a gargantuan birdcage holding a potted miniature rose.
More for relaxing than eating, this area came together in minutes -
 and plastic chairs never looked so classic!
Check out the FREE makeover I did on my brother's front deck here

I snapped this photo at one of my fave cottages at the beach....
which is just out of frame on the left side of the photo.

While the architecture - decking, sunroom window wall, and huge climbing vine-
definitely contribute to the charm here,
it's made up of mostly simple vintage furnishings for easy care:
an old wooden picnic table, some wicker chairs, and a wood table are whitewashed for easy upkeep.
Add a jute rug and a striped umbrella, and the setting is ready to go when you are!

( I often look at this gorgeous area as I walk by, and wonder 
'how many times do people crash their parties?'
because as you can see, it's RIGHT on the public walkway at the beach!
But I'd live there in a HEARTBEAT!)

shared online:

Creative Country Mom | Home Sweet Garden Party

Thank you, Brooke, for featuring my post this week on your blog!


5.21.2014

Summer's Knocking!

I love changing up the decor on the front door every season!
Lest that sound like a LOT of work and a LOT of storage is needed, lemme' 'splain:

The easiest way to do this is to find a container of some kind to hang on your front door...
like the cute white wire cone-shaped basket shown here.
My Mom actually found this at a thrift store
[the nut didn't fall far from the tree!]
and it is proving to be a perfect way to easily - and inexpensively - freshen up the door decor.

For a fresh spring accent in April, I filled the basket with real moss from the yard 
and faux pink roses that came off of an old wreath Mom had shoved in the garage....  FREE!
A snippet of vintage ribbon and it was done:
Now that Summer is arriving, it's time to refresh the basket.

I went to the dollar store and found everything you see below:
one set of 3 flags, one set of flip-flops, 
1 bunch of red flowers and two bunches of white daisies,
and a red bandana.
Cost? $6.


I wrapped the bandana around the foam already in the cone basket,
then stuck the flags and flowers into the foam.
I shoved the flip flops between the bandana-wrapped foam and the back of the basket,
and hung it all on a nail in the screen door.

Fast. Cheap. Easy.TM
... and at the end of summer, it will be filled up with fall leaves and a big ol' foam pumpkin.
From the dollar store.
Because cheap does not mean tacky! 
Yet because it's so inexpensive, 
it's no big deal to throw it all away - instead of storing it for a whole year.

Looking for more 'Fast, Cheap & Easy' ideas for your Memorial Day Weekend decor?
Check these past posts out:

                        Custom Water Bottle Labels                             Easy Bandana Pennant Banner

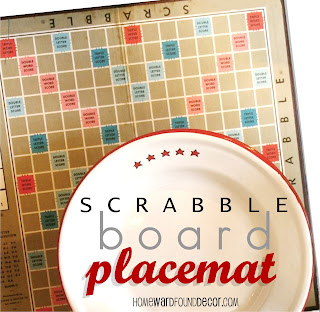
                Coke Carton Picnic Caddy                                            Game Board Placemats


shared online:

Cupcakes & Crinoline | Project Inspire{d}


Creative Country Mom's Garden | Home Sweet Garden Party


5.20.2014

Red, White and Blue - Water?!

diy, entertaining, parties, flavored water, party ideas, Memorial Day, Fourth of July, Labor Day, patriotic, red white and blue, Pinterest, homewardFOUNDdecor.com
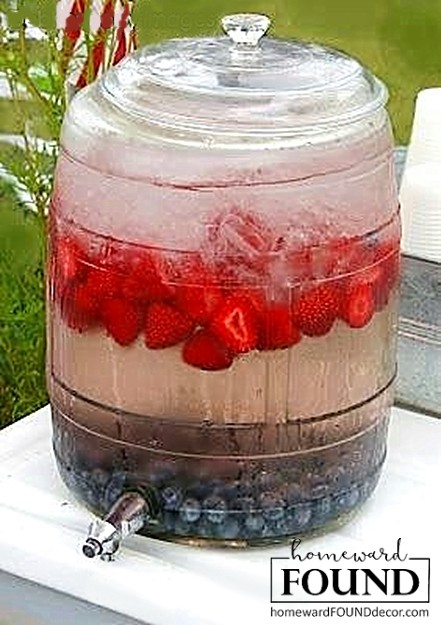
 my 'famous' strawberry & blueberry flavored water
was featured in a past post about front porch decor here on the blog.
it really is pretty, isn't it?!
I made and served this beverage at the vintage shows that I hosted on my farm in Washington,
and it was included in one of the articles i wrote for a magazine.

It's a simple 'Fast, Cheap & Easy' idea (my trademark!) for summer entertaining:

Just put layers of frozen blueberries, ice cubes, and fresh strawberries
in an old glass jar, then fill the jar with water.

They flavor the water ever so subtly - SO refreshing on a hot day - 
and it looks absolutely perfect for a patriotic party!


red white and blue, fourth of july, patriotic decor, home decor, summer decor, party ideas, entertaining, beverages
I can't believe how many times that image has been shared and pinned since then! 
It's my most popular pin EVER, so I want to thank you for the love!

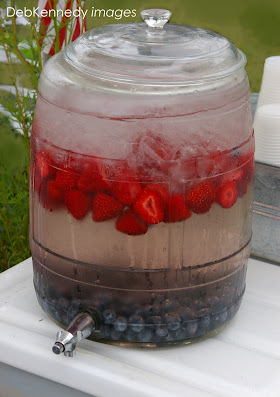
i've always thought that photo was too dark, 
but i can't remove it because of all of the pins & shares - 
so i've added a better, edited image up above in this post and re-pinned it!

You can see another version of my flavored water here
and here

shared online:

Cupcakes & Crinoline | Project Inspire{d}

the How To Home | Project Inspire{d} #274

creatively beth | team creative crafts linky party #147 (2023)
thank you for featuring my project, Miss Beth!


memorial day, labor day, fourth of july, patriotic party decor, red white and blue decor,
red white and blue berry water, entertaining, patriotic party drinks, diy, homeward found decor

5.16.2014

tutorial: beachy faux weathered paint

art class, decorating, DIY, fast cheap and easy, furniture, on the porch, painting, summer, beach style, color, diy decorating, faux finish, junk makeover, junking, makeover, rustic style, salvaged, trash to treasure, tutorial
I've spent a major part of my life painting things...
it's really one of the fastest, cheapest, easiest ways to give an item new life
and the only limit to your results is your imagination!

As a kid, i was into finger painting - and then hundreds of art projects.
At one point, I was actually painting houses - inside and out.
I painted props and walls and fixtures for retail displays.
I taught an art class for gifted kids, and taught them how to cartoon and paint murals.
I was painting custom murals in homes and businesses, 
and painting furniture for my small store, farmer's markets, and clients.
In the end, I ended up creating new furniture out of old stuff, and adding paint finishes to it.
Seems I've had a paintbrush in my hand most of the time!

Recently, I laid my eyes on an old, worn out picnic bench that Mom has had for YEARS.
art class, decorating, DIY, fast cheap and easy, furniture, on the porch, painting, summer, beach style, color, diy decorating, faux finish, junk makeover, junking, makeover, rustic style, salvaged, trash to treasure, tutorial
You might remember that bench...
She was in my Garden Bar post as a supporting player. Nothin' much to look at, really.

But since I've amassed quite a few paint tricks over the years,
it was simply a matter of using those with a few steps, a few supplies, and a few minutes
and that bench went from trash to treasure.
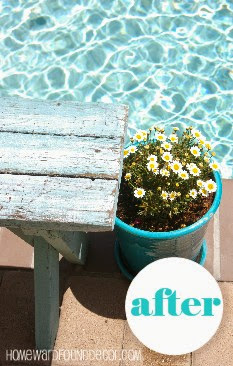
She's got a terrific weathered & worn 'beach vibe' now - ready for Summer!

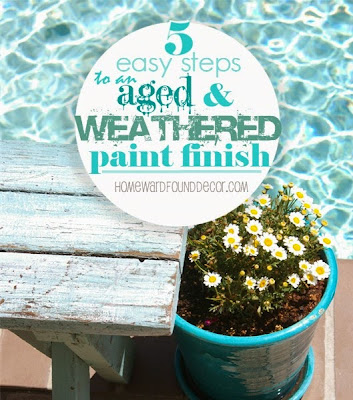
Here's a quick tutorial to show you how to get great results
IN 5 EASY STEPS

Materials:
wood object to paint . paint color 1 . paint color 2 . sand paper . paint brushes
art class, decorating, DIY, fast cheap and easy, furniture, on the porch, painting, summer, beach style, color, diy decorating, faux finish, junk makeover, junking, makeover, rustic style, salvaged, trash to treasure, tutorial
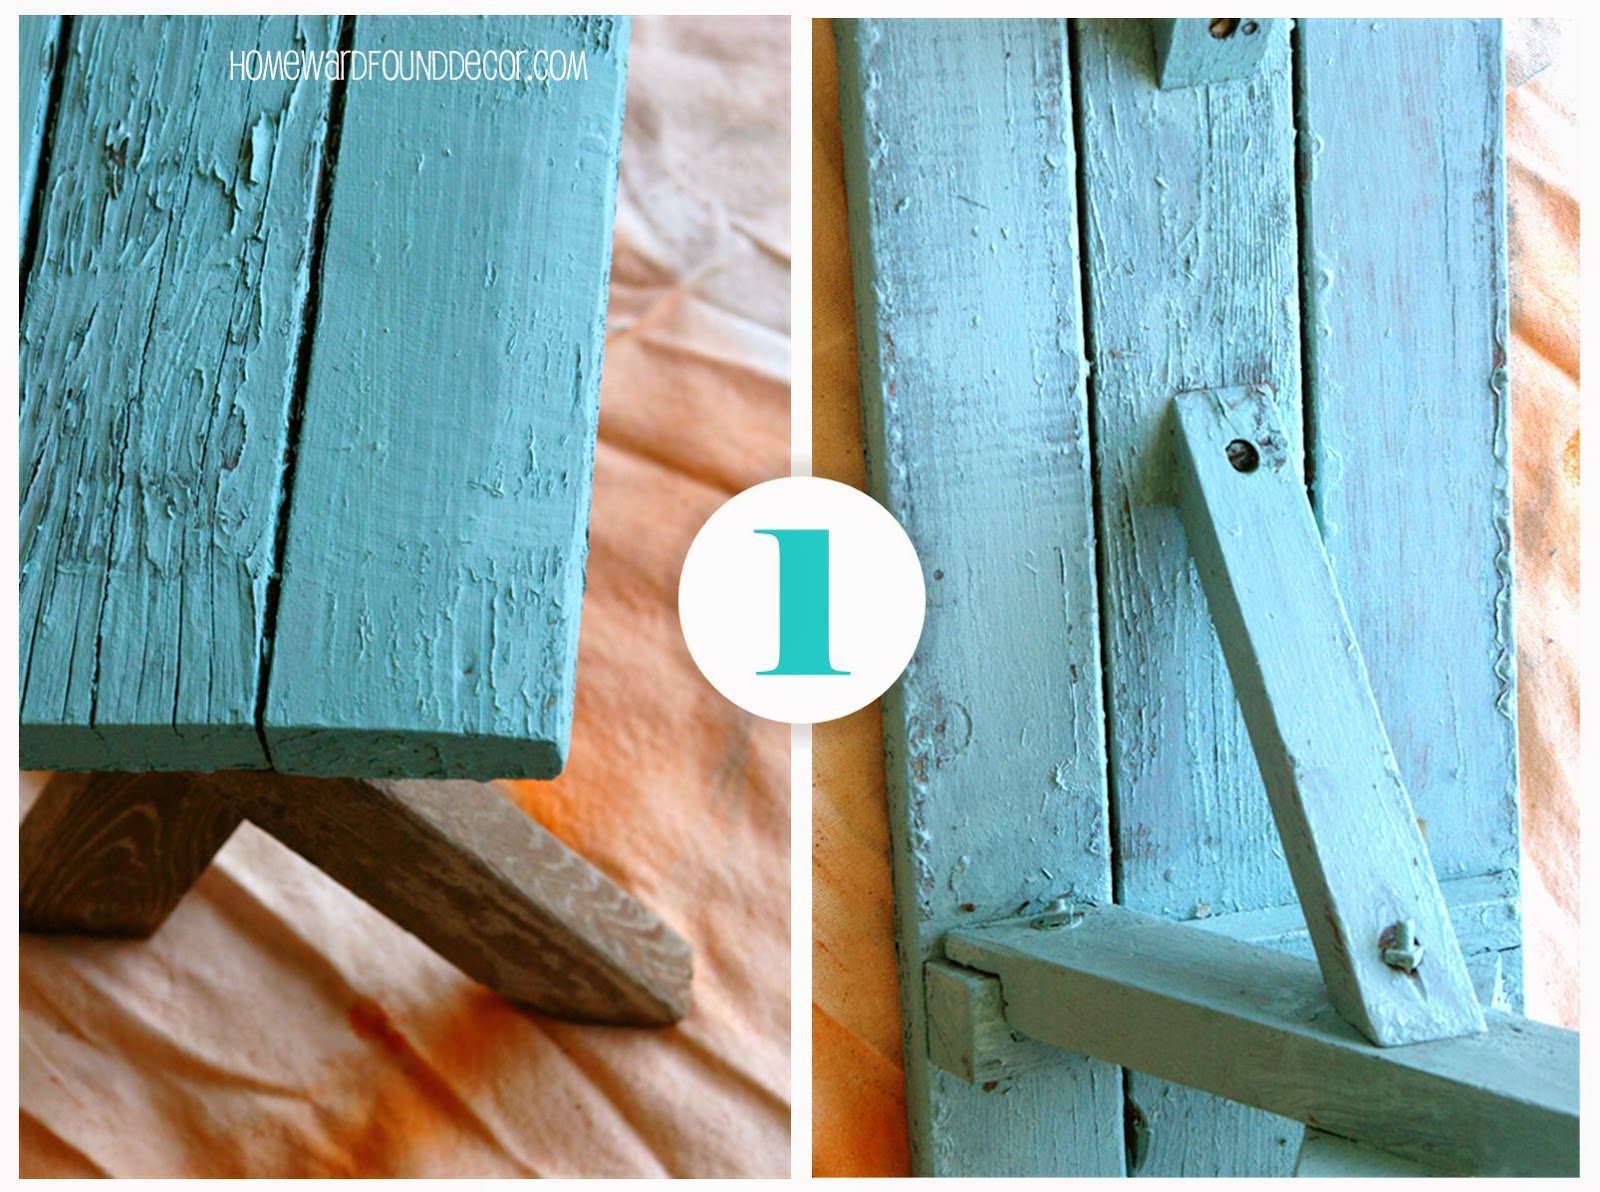
Step 1.
Paint a clean, dry item with paint color 1. Flat or satin finish is best.
Here, the item is an old wood bench and paint color 1 is aqua.

art class, decorating, DIY, fast cheap and easy, furniture, on the porch, painting, summer, beach style, color, diy decorating, faux finish, junk makeover, junking, makeover, rustic style, salvaged, trash to treasure, tutorial
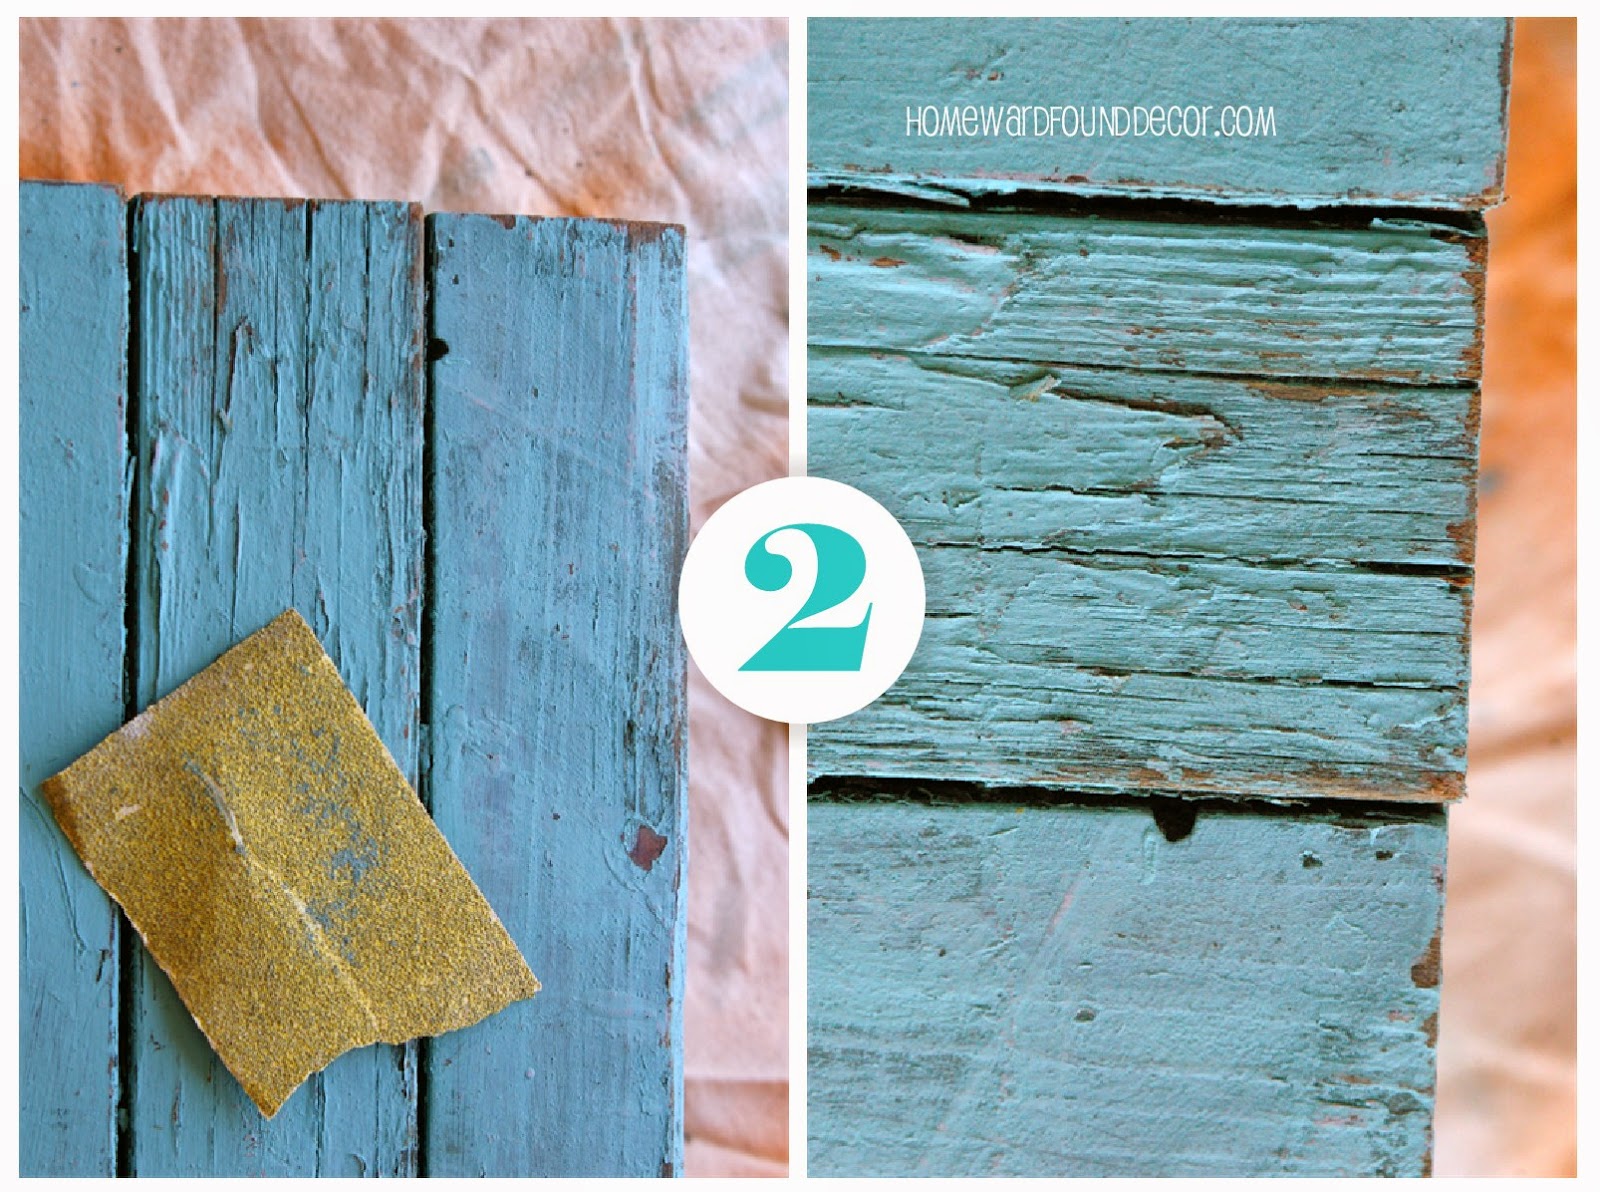
Step 2.
Use a piece of coarse grade sandpaper to sand the piece,
wearing away paint color 1 at the edges and along joints.
Sand in long strokes, not in circles or swirls, so it looks like authentic wear & tear.

art class, decorating, DIY, fast cheap and easy, furniture, on the porch, painting, summer, beach style, color, diy decorating, faux finish, junk makeover, junking, makeover, rustic style, salvaged, trash to treasure, tutorial
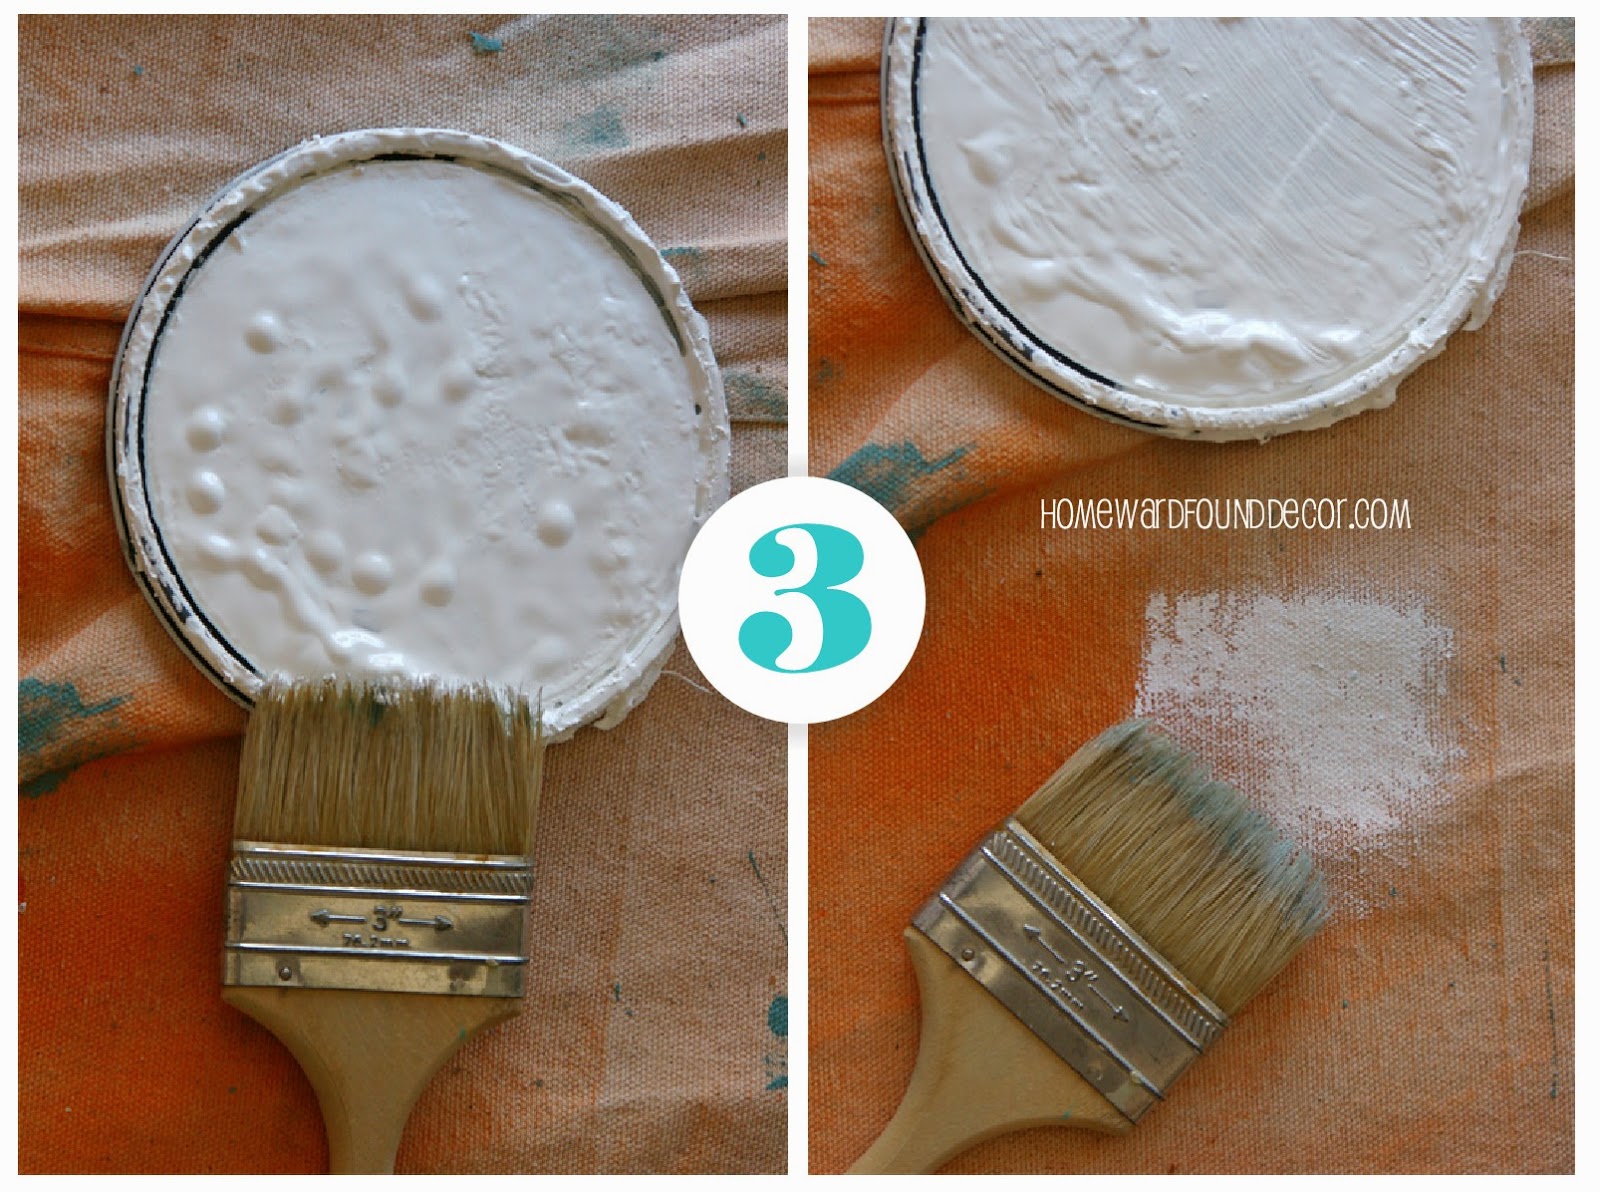
Step 3.
The next coat of paint will be applied with a 'dry brush' technique:

Dip the tips of a paint brush in paint color 2. Here, that color is white.
Then stroke the brush against a dropcloth, rag, or cardboard box to remove most of the paint.

art class, decorating, DIY, fast cheap and easy, furniture, on the porch, painting, summer, beach style, color, diy decorating, faux finish, junk makeover, junking, makeover, rustic style, salvaged, trash to treasure, tutorial
Step 4.
Drag the almost-dry paint brush bristles across the item, depositing a small amount of paint color 2.
Do not press hard, just drag the brush over the item's surface to highlight the texture.
Use long strokes across the length of the item - with the grain.

art class, decorating, DIY, fast cheap and easy, furniture, on the porch, painting, summer, beach style, color, diy decorating, faux finish, junk makeover, junking, makeover, rustic style, salvaged, trash to treasure, tutorial
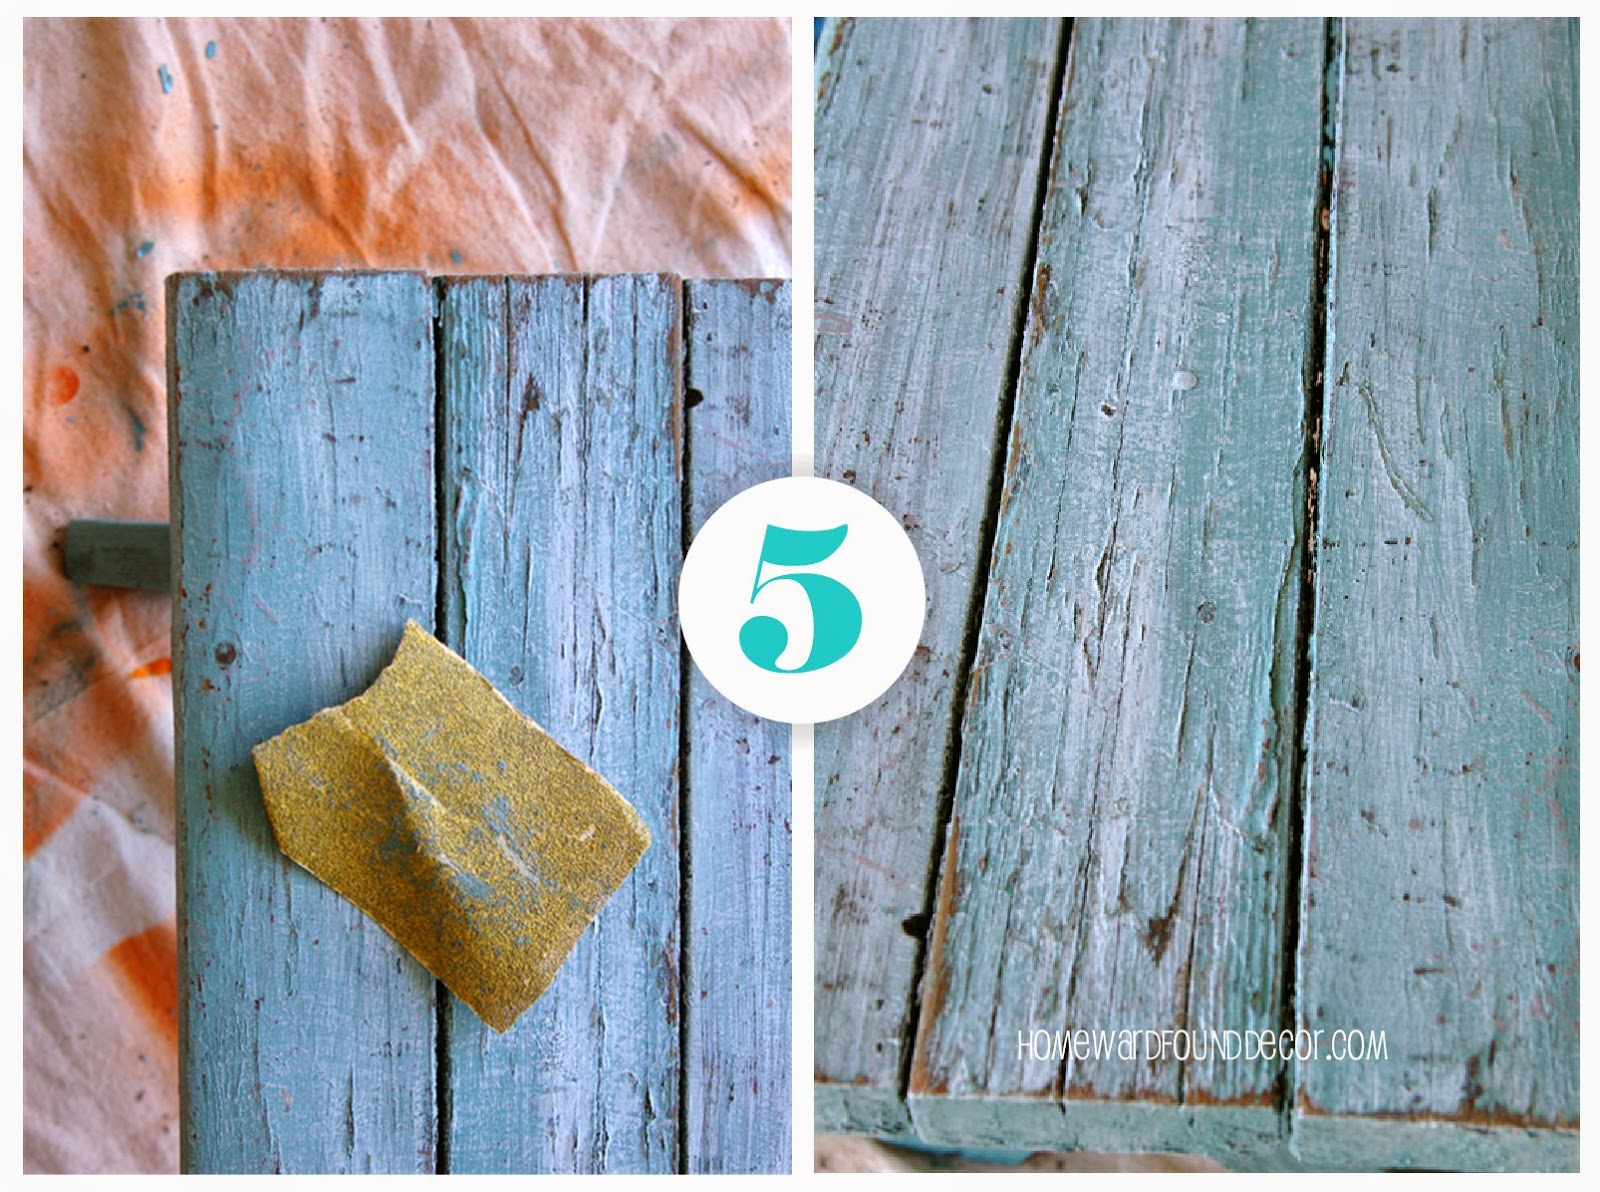
Step 5.
Use coarse-grade sandpaper again to rough up the edges of the item again,
wearing through the white drybrush coat into the base coat.

The effect will approximate that of being left out to weather naturally over time,
instead of looking like an overworked 'faux' finish.

It will weather more on its own if left outdoors, 
or you can add a sixth step: add a coat of clear matte-finish varnish to protect it.

This technique works very well on benches, chairs, tables, 
crates, wood planters, shutters, doors, bed frames, cabinets,
birdhouses, fences & gates, even decks!

Once painted, that overlooked little bench turned in a stunning performance 
in my Breakfast at Tiffany's post!
art class, decorating, DIY, fast cheap and easy, furniture, on the porch, painting, summer, beach style, color, diy decorating, faux finish, junk makeover, junking, makeover, rustic style, salvaged, trash to treasure, tutorial

shared online:

funky junk interiors | diy salvaged junk projects #531

One Project Closer | Creativity Unleashed

Creative Country Mom's Garden | Home Sweet Garden Party
Thank You, Brooke, for featuring my post on your blog! 

5.14.2014

Beyond the Garden Gate...

In my last post, I shared that I don't demolish things in a remodel project.
And if I am anywhere near a project, I don't let other people do it, either...

A wood gate to the backyard at my parent's house had seen better days,
and was on the 'Honey-Do' list for replacement.
My Dad was going to remove it, cut it up, and put it in a dumpster.

Ahhhhhhhh..... NO.
Enter Deb and her decidedly 'different' point of view.
After he took it off the posts and removed the hardware,
I took it. Right out from under his nose. I carted it off.

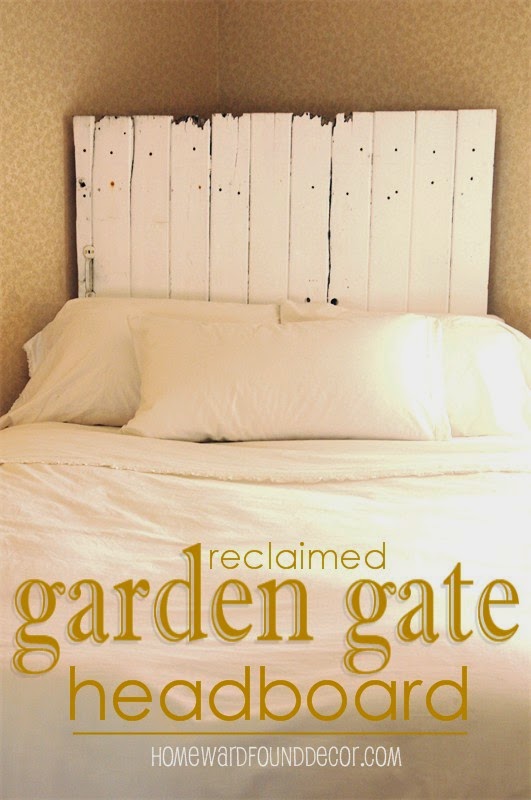
... and cleaned it off, and found a way to use it exactly as it was:
as a headboard!

All I did after cleaning was to lean it against the wall behind the bed.
That's it.
[ This was a 'Fast, Cheap (FREE!) & Easy' decorating project, to be sure ]

I love the worn, weathered finish of the wood
and I also love knowing that my kids ran through that gate in years past.

I already know that in the future, I'll be making this into a big huge square table - 
probably with big huge fence posts as legs.
I might also hang it on a wall as the backdrop for a fabulous found object.
But for now, in the limited space I have here,
it serves to add some beachy outdoor style to my room.
And it didn't end up in a dumpster.

Dad built a whole new gate, then Mom & I painted it.
 It's gonna' last awhile... but in 20 years, I'll bet I have THIS one, too ;)
(no, sadly, i won't... my sweet Dad went home to heaven in 2015 and Mom sold the house.)

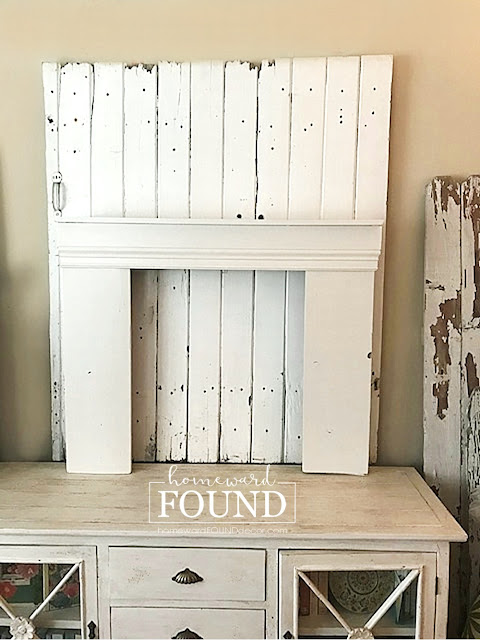
btw, i used this same wood gate in another project in 2020 -
it's the backdrop of a faux mantel and fireplace! - check it out here!

Want MORE ideas for using fences and gates as home decor?
Check out THIS POST and THIS POST!

shared online:

Creative Country Mom's Garden | Home Sweet Garden Party