. -->

5.08.2013

Mothers Day Tea Tablescape


Mothers Day is this Sunday, 
and this week I have two lovely tablescape inspirations for you...

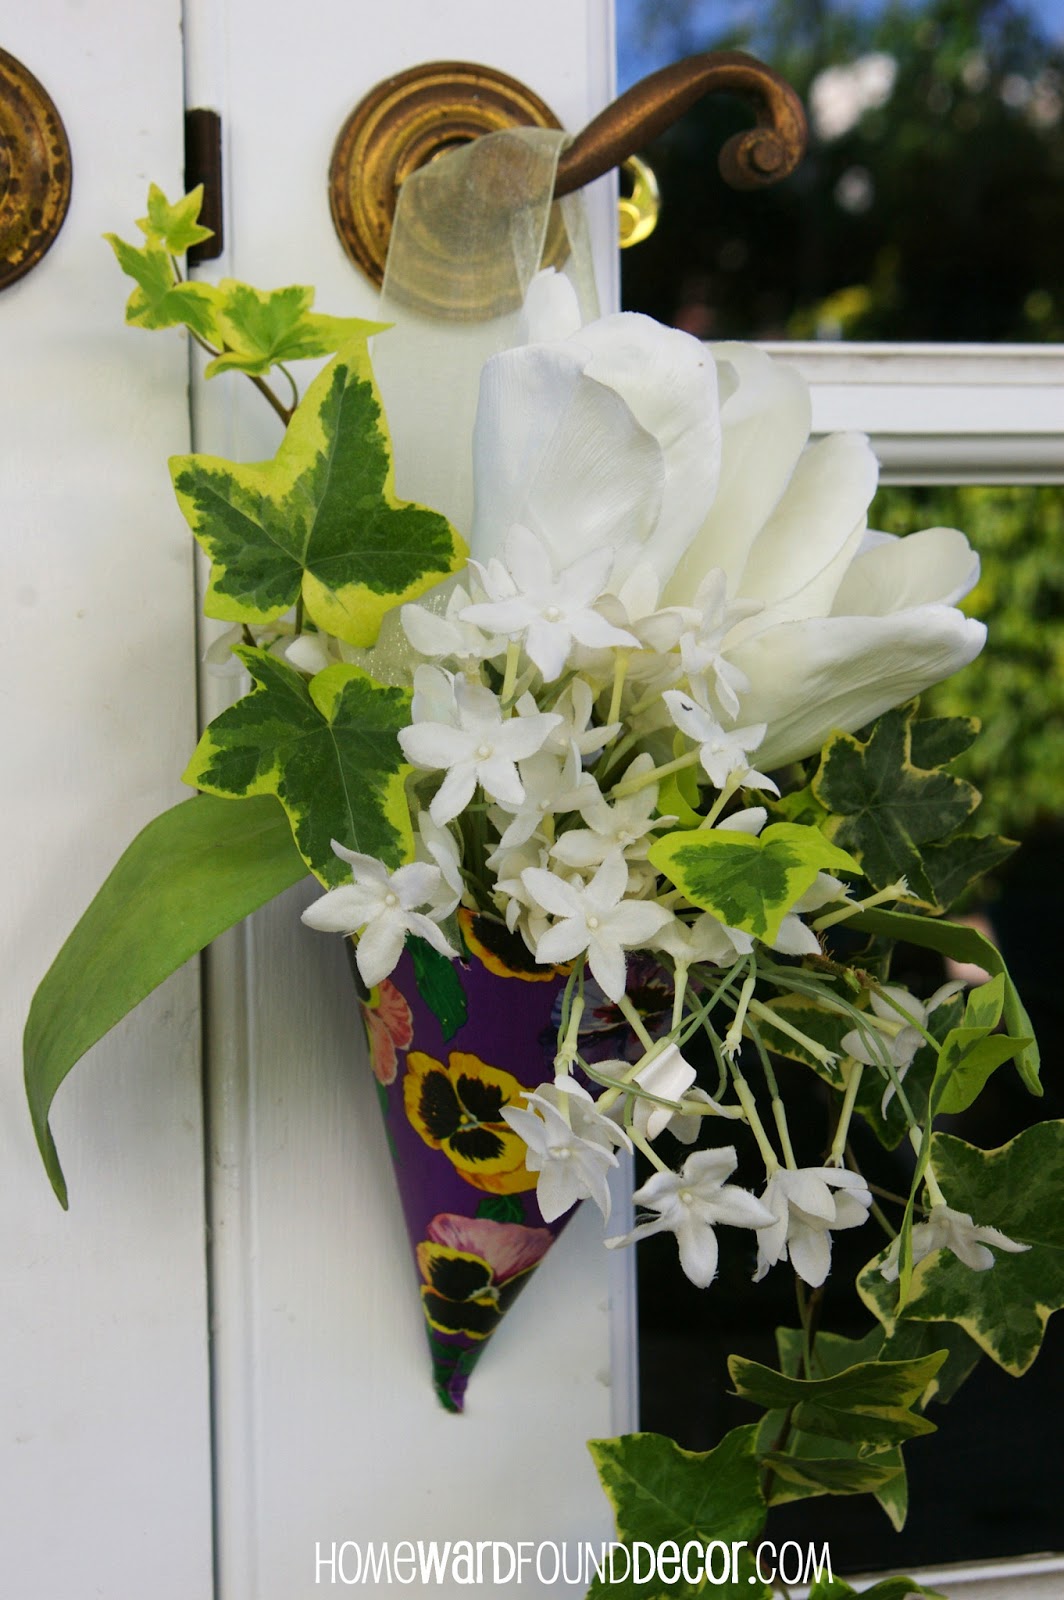
Today's theme was inspired by the Ivy Dome featured on Monday's blog post
[click over to see my 'Fast, Cheap & Easy' TM project tutorial]

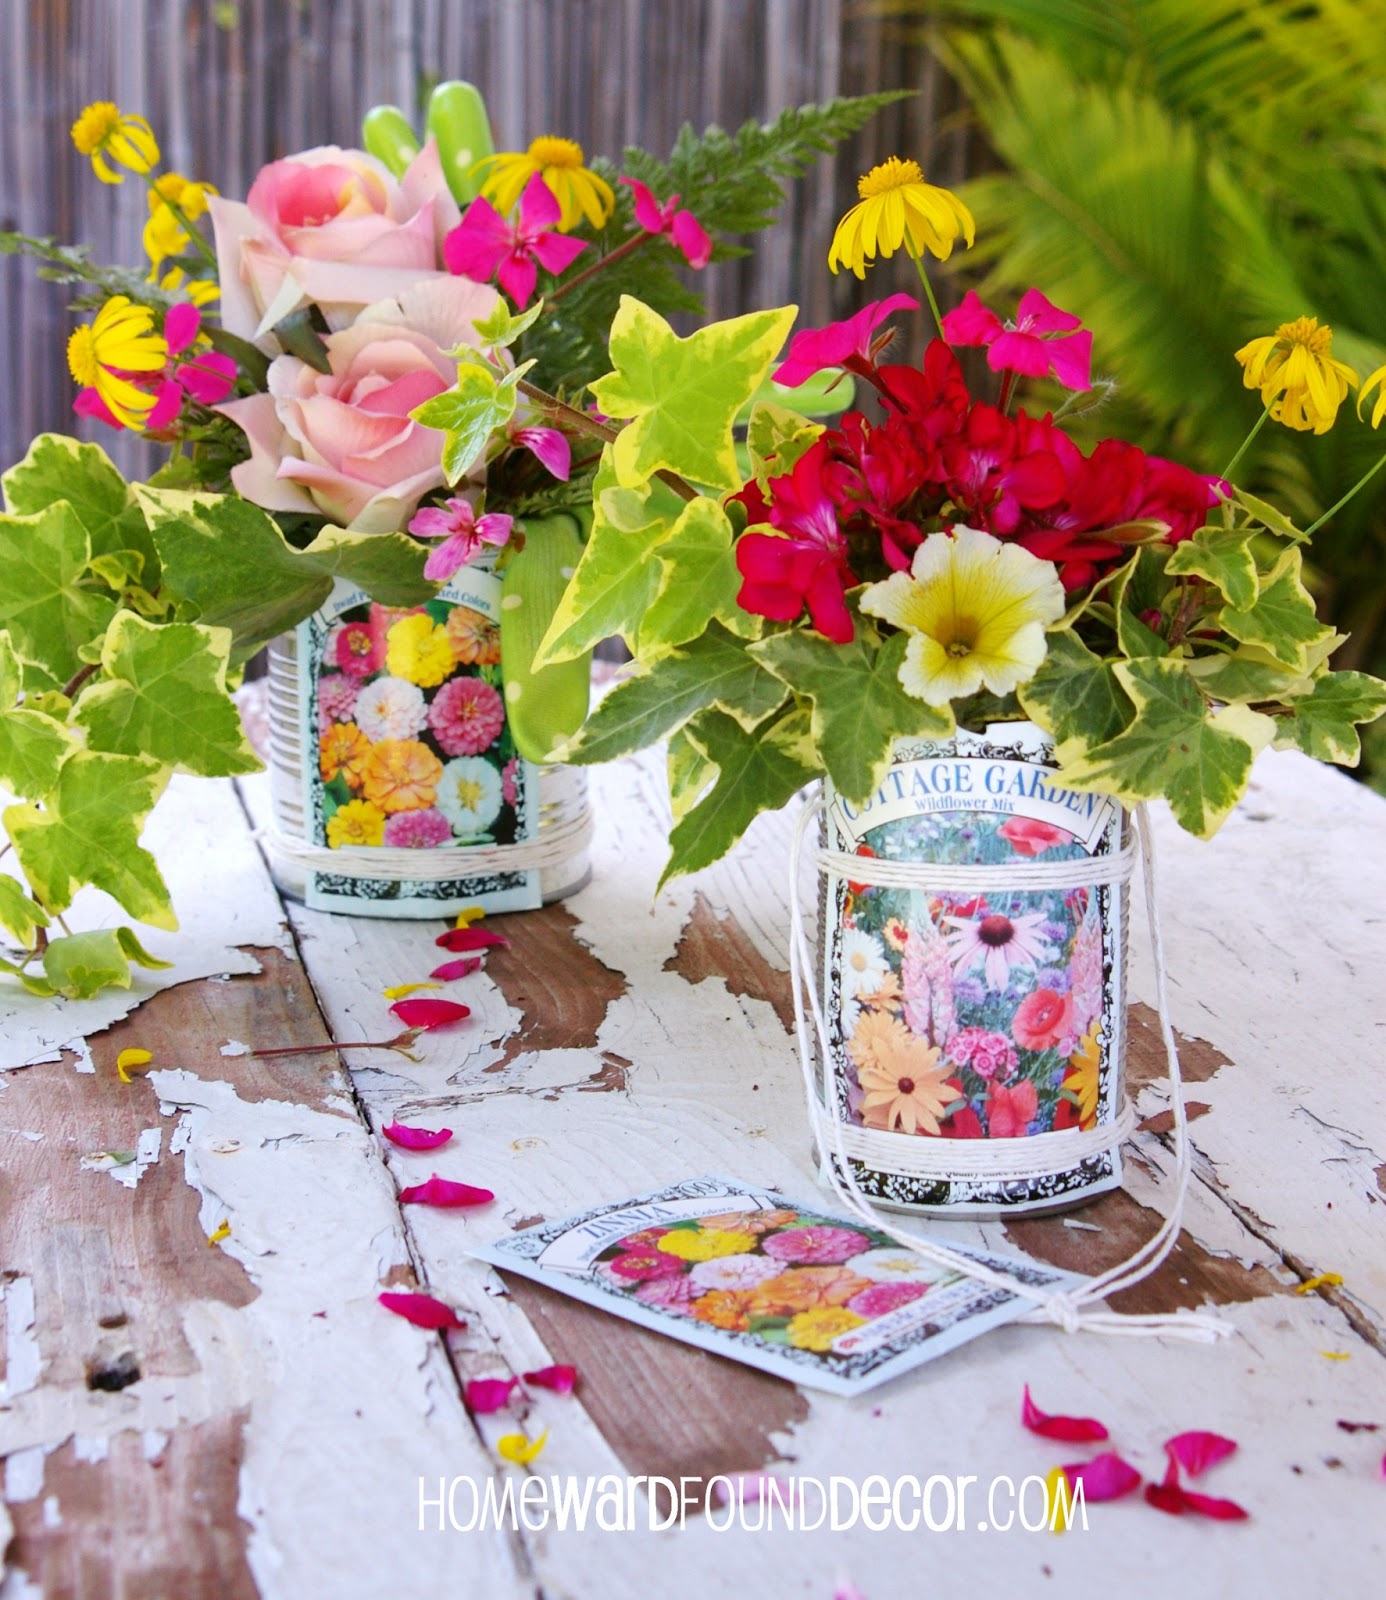
This tablescape is built around the ivy's green and white color scheme
and it is a perfect setting for a brunch, luncheon, or tea outdoors...
This table decor is simple, and the style is all in the details:

* A patio, sunroom, garden, or backyard deck is the perfect location for a party...
umbrellas or an overhead trellis provide dappled shade, and sunhats are a thoughtful touch.

* A garden swing adds to the color scheme and is a whimsical seating option.

* Pots of garden herbs coordinate with the color scheme, and add scent to the setting

* The Ivy Dome sits on a glass cake pedestal, sheltering a lilac-scented candle from the breeze.

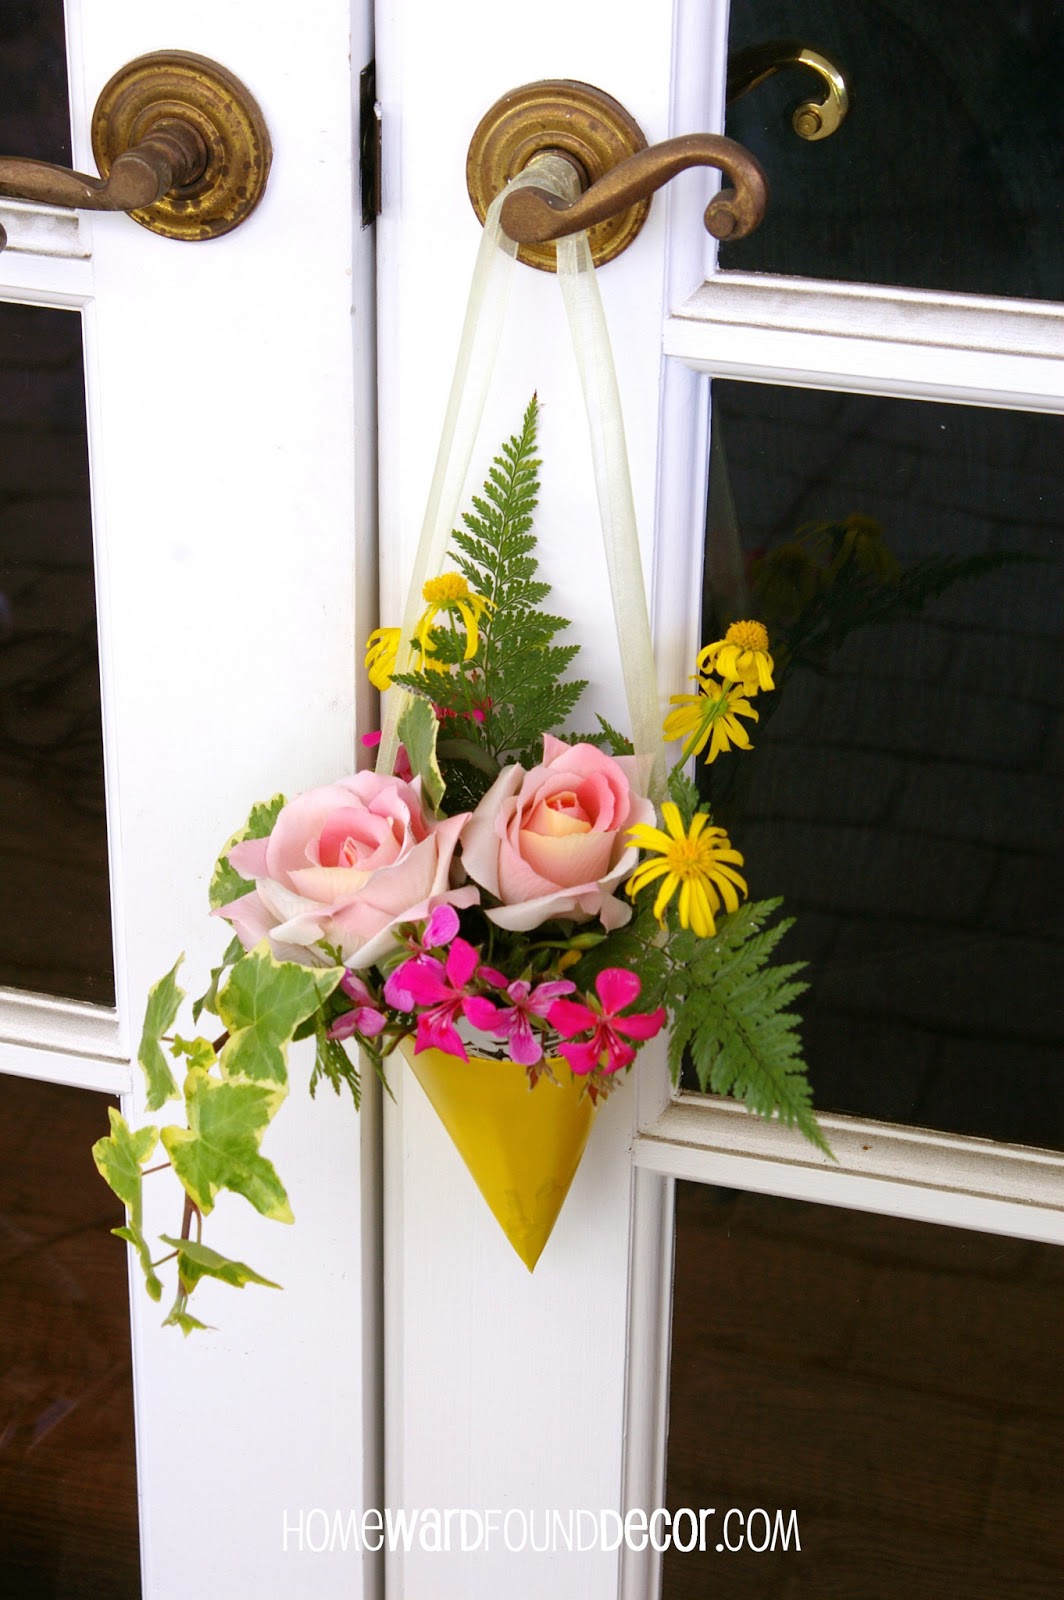
* Vintage white ironstone and milk glass pieces hold white tulips and herbs, 
as a centerpiece and as individual nosegay favors at each place setting.

* White lace adds feminine charm in a sprinkling of crochet doilies, 
paper doilies as placemats, and vintage lace gloves & scarf on display.

* Clear glass votive cups in the shape of flowerpots coordinate with the garden theme,
and a lacy white cupcake collar dresses them up to serve the first course.

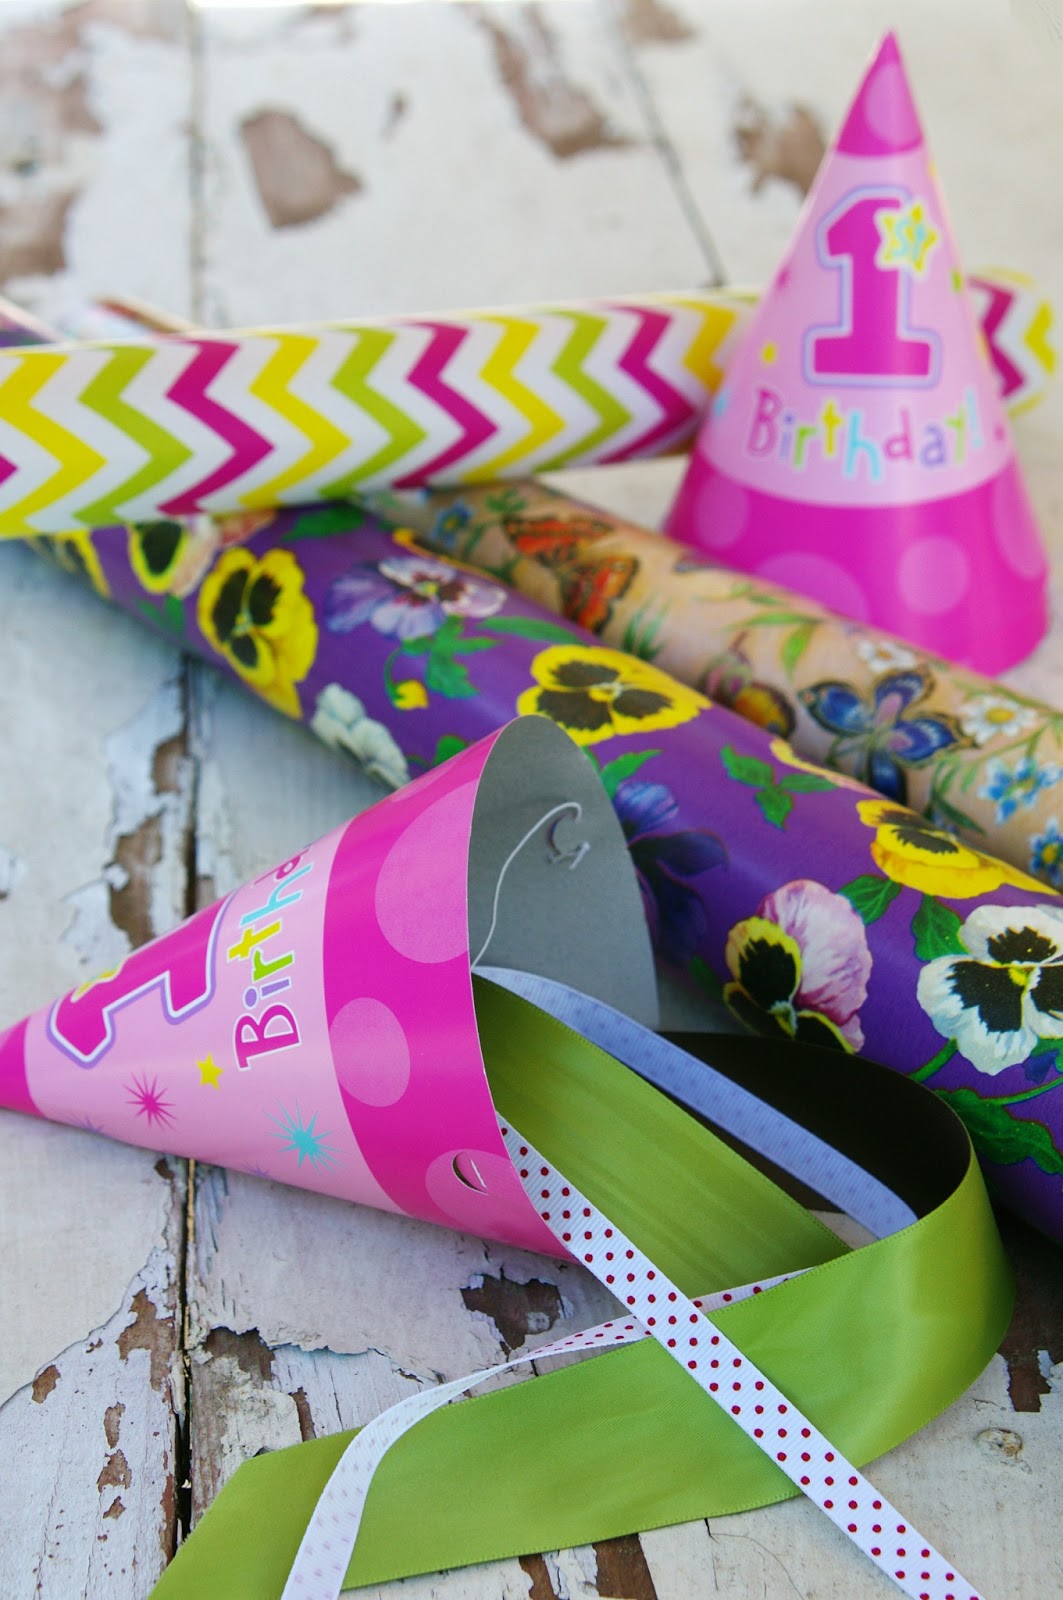
* The color scheme extends to the fresh gingham gift bags, displayed in a twill totebag.
[...and yes, those are the same gift bags that I used in my office!]

* Vintage glassware in green and blush pink adds a soft touch of color...
matched by the blush wine and ginger rose teabags.

Ready to create a similar tablescape?

You can turn a wire tomato cage into an ivy dome with my Tutorial


5.06.2013

Tutorial: Wire Tomato Cage Dome

 I find almost ALL of my inspiration for seasonal decorating in nature...
the materials abundant, the textures intriguing, and the color combinations are dazzling 
[and Mother Nature is NEVER wrong - no matter what color ends up next to another!]

Inevitably, I find myself drawn to arboretums, greenhouses, conservatories,
beaches, parks, garden centers, and nurseries when I have free time.
My trusty camera captures color, mood, and ideas at every turn
that serve as inspiration for projects that I undertake.

Like this one...

I was inspired by the idea of ivy-covered birdcages and domes.
 I saw these two above at Roger's Gardens in Newport Beach, CA 
and the Conservatory of Flowers in Golden Gate Park, San Francisco, CA.

Below, smaller domed cages hanging at Roger's Gardens
really did the trick of getting my brain into gear.
Combining this inspiration with my penchant for using things in unconventional ways,
I put two and two together... and the result was this sweet ivy-covered wire dome:
Wanna' make one?
It's easy - with just THREE CHEAP 'ingredients', two tools, and half an hour!

continue reading for the tutorial...

5.04.2013

Got the Cinco de Mayo Blues?

It's Cinco de Mayo! Are you celebrating yet?!

Yesterday's post was all about a quick bar setup, 
built around a yellow & orange color scheme.
Today, I've got the blues!
Add bright aqua and some magenta to yellow and orange,
and you've got yourself a fast FIESTA!

Inspiration for a Sunday brunch, lunch, or dinner table:
Some 'Fast, Cheap & Easy'TM ideas shown here:

* The aqua glass balls in the centerpiece are actually 'water globes' for plant watering...
Used this way, they look like artist-blown glass decor!
[Available at your local nursery or home supply store]

* A teal glazed plant pot stands in as a riser for a serving tray

* The crackled glass vases and blue PLASTIC stemware 
were purchased for @ $3 each at HOMEgoods

* Fresh fruit and flowers in bright colors make the blue POP
My Secret: The bougainvillea flowers here are all faux garlands from the party supply store - 
I just wadded them up and into the vases, and hung a few on the wall by the bar!

* Standard black [or white] dinnerware is a perfect counterpoint to the bright colors
[Want to see a completely different look using that black dinnerware? 
I shared it last fall here along with my post for Broadway+Thresher Magazine]

 confession time..
I worked in the Washington wine industry for years, and learned a LOT about vino.
But I still 'judge a bottle by it's label' when I entertain...
because I want the labels to match my color scheme!

 I usually end up serving a spicy red wine, 
or making a simple sangria using wine and fresh fruit for a lighter touch.
[Don't miss my 'Cheater 'Rita' recipe for FAST margaritas - 
it's in yesterday's post]

5.03.2013

EASY Cinco de Mayo!

Happy Cinco de Mayo!
It's Friday, it's the weekend, and it's a HOLIDAY weekend at that!
 
Not a REAL holiday, you say? any excuse for a party is my philosophy.
and there's no reason to say 'I just don't have what I need to throw a party'... because you DO!

Here are a couple of 'Fast, Cheap & Easy'TM tips that you can use to literally 
put together a backyard bar setup in mere minutes...
so invite the neighbors over this weekend, and celebrate!

This is really ALL about the color story...
The warm yellows and oranges and the natural wood & terra cotta tones
play perfectly off of each other to create a 'South of the Border' mood.
Focusing on one or two colors is a fast way to coordinate elements...

I just went into every room and closet in the house, and pulled out 'stuff' on hand
that would work with the Cinco de Mayo 'story'...

* $1 bamboo placemats cover the bartop
[and if you don't have a bar, stack some crates or benches 
and throw a bamboo blind over the whole thing]

* a textured terra cotta flowerpot is a riser to hold a serving plate

* a clay ROOF TILE serves up napkins
[could also hold fresh unpeeled fruit]
 
* a terra cotta olive plate : serves up salsa, and the 'pit well' holds the serving spoon

* a burlap shopping bag covers a blue plant pot [it's pretty, it just didn't fit the color scheme!]
 * bright yellow faux flowers from the 'fall' decor box in the garage add color punch
the marigolds in the pot are real, the yellow mums are faux, 
and the ivy was cut from a wall and tucked into the pot.
better to have a full arrangement for impact than a few spindly marigolds!

* beach towels in hot colors and a woven purse & hat top the cabinet for color + interest
[textures of old wood, terra cotta pots with twine wrap, stucco, and baskets really say 'Mexico']

* A big basket lined with a garbage bag and filled with ice could hold Coronas next to the bar
 
 Now, for the 'Fast, Cheap & Easy'TM way 
to make Margaritas!

I came up with this one years ago, when my bar supplies had dwindled.
I had tequila. And I had lemons. SO, I improvised and created 'Cheater 'Ritas' -
and discovered that this simple version is just as refreshing as the complicated drinks!
Ingredients:

lemonade
[I prefer it made from frozen concentrate with an additional squeeze of fresh lemon juice,
but Crystal Light or Country Time powdered lemonade drink mix will work, too...]

tequila
[I prefer my lil' friend, Don Julio Reposado... but Jose Cuervo works just fine!]

ground sea salt . cut lemons and oranges . ice
_____________________________

* Run the cut lemon or orange across the rim of the glass,
then dip the glass into the salt. Add ice.
[option: skip this step and just sprinkle a TIDBIT of salt INTO the glass over the ice]

* Pour a shot [more or less] of tequila into the glass over the ice.

* Pour lemonade into glass to fill.

* If desired, slice up a lemon and orange, and place a slice on the rim of each glass.

* Stir. Drink. Smile.

* Repeat. [REALLY important!]

___________________________________

Now this is certainly no 'Cadlillac Margarita' for connoisseurs, 
but it is a refreshing, cool libation that is a quick treat to make with what's on hand,
and it's CHEAP and EASY to serve for crowds.

Put some salsa music on the iPod, microwave a tray of taquitos and mini-tacos,
and you've got a party!
Please drink responsibly and enjoy your weekend...

5.01.2013

Tutorial: May Day Tin Can Flower Baskets

Happy May Day!
I've been making this cute Spring craft for decades:
flower buckets made from upcycled tin cans and seed packets!

I've had a 'thing' for upcycling tin cans for quite a while...
Back in the 90's, I had a decorative painting business
and made these pails - and I handpainted 'vintage'-look seed packets on the front of the cans. 
Hundreds and hundreds of cans!
 I really loved my friends in the restaurant industry, who supplied me with all I could want.
I painted and sold these with designs for every season and every holiday,
in practically every shape and size of can that exists. Mine had little wire handles, too...
see my Painted Pails here!

Now I've created this version that requires NO painting!
You'll love this 'Fast, Cheap & Easy' TM project -
and will have little buckets of flowers to share with everyone today!

 Supplies:
* empty tin cans with lids removed
* seed packets (full or empty)
* string or garden twine & scissors
* manual can opener (with pointed end)
* glue stick optional
* flowers clipped from your yard (or 2" potted plants)


1. wash empty tin cans and remove paper labels [GooGone works well on stubborn glue]
2. use can opener to pierce two holes at top edge of either side of can (point down)
3. use back of can opener to roll and press punctured metal FLAT on inside of can (no sharp point)
4. lay can on side, and lay seed packet over the seam of the can (or over stubborn glue spots!). 
glue in place with the glue stick if you wish.
5. cut @ 24" piece of string/twine and wrap it several times around the can and the seed packet,
 near the bottom of the can. Repeat with another string at top of seed packet/can.
6. tie strings tightly on the back side of the can to hold the seed packet in place.
7. cut @ 24" piece of string/twine, double it, 
and pass the ends through both holes on the sides of the can. tie ends together to form hanging loop.
8. fill can with water (@2 inches) 

 9. add flowers!

 10. hang up on a doorknob or display on a tabletop, counter, or shelf...


You can use empty seed packets, or ones that are still full of seeds - 
and if you can fill the can with the same kinds of flowers that are on/in the seed packet,
it's a doubly sweet gift.

[PS: I found these pretty seed packets at the Dollar Tree store - ten for a buck!]


This project inspired a party decor theme for Mothers Day!
See more in this post


shared online:

2016: Project Inspired{d} Party


one project closer | Creativity Unleashed

creative country mom | Home Sweet Garden Party

the answer is chocolate | bff open house link party #26

featured:
see post here


4.30.2013

upcycled paper party hat May Day baskets

May Day flower baskets, repurposing, upcycling, paper crafts, paper party hat crafts, Dollar Tree crafts, gift wrapping, flower arrangements,
With May Day just a blink away,
I thought I'd share this SUPER EASY project tutorial with you
so you can share the gift of flowers with family & friends...
let's make flower baskets / cones from paper party hats and gift wrap!

For this project, you'll need:

* old paper party hats
* leftover gift wrapping paper in bright colors and/or prints
* some snippets of ribbon (@ 18' long)
* scissors and a glue stick
* 1 plastic sandwich bag and 1 rubber band per basket
* flowers clipped from your yard or a field

1. & 2.use the glue stick to attach a piece of gift wrapping paper to a hat - start by gluing one edge of the paper at the seam of the hat, roll it around the hat, and glue in place at the seam again.
3. use scissors to trim paper to an even depth around the rim of the hat - leave @ 1 inch for folding over.
4. fold paper into the inside of the hat, 'pleating' it neatly as you go.
5. poke a hole through the gift wrap and the hat on each side, right where the elastic chin-band is attached. the hole needs to go all the way through.
6. pull both ends of the ribbon through both holes, so that the ribbon forms a large loop above the cone. tie the ends of the ribbon together so that they sit inside the cone.

If you want to add a special embellished collar to the cone, add it now.
This is a laser-cut paper cupcake wrapper, simply taped into the inside edge of the cone -
It took two wrappers to fit the cone.
7. fill the sandwich bag with @ one ounce of water. roll the edges down and slip the rubber band over the bottom of the bag - cinch it twice to hold the top closed and keep the water inside the baggie.
8. there will be a very small hole at the top of the baggie - tuck your greens and flowers into that hole. it will hold more than you think!
9. then place the baggie inside the paper cone - a great way to stabilize the cone is to sit in inside a glass to hold it upright as you work. this pilsner beer glass is the perfect shape for the cone!

Your May Day flower baskets / cones are ready!
Display them upright in glasses or vases or hang them on a door or cabinet knob.

Here are a few shots of my creations to inspire you:


 I added faux flowers and a flower seed packet to the real ivy in this flower cone, 
and hung it on the front door to welcome May in style...


2021: many thanks to homebnc for sharing my tutorial in their post!

shared online:

2021 funky junk interiors | diy salvaged junk projects #574

2013 creative country mom | Home Sweet Garden Party


4.29.2013

Chandelier Fountain

I was enjoying the lovely blooming surroundings at local garden retailer Roger's Gardens on Sunday...
reveling in the birdsong, snapping photos of the roses,
and taking in the incredible feats of retail display work throughout their vast property.
The visual team is AWESOME!

... and then I rounded a corner and my jaw hit the floor.
I stand corrected: The visual team is made up of GODS.

Look again at the photo above.
Do you see what I see?  What assaulted my senses as I rounded that corner?

There is a stream of WATER dripping down that crystal chandelier
and into the fountain below!

There are many chandeliers in their visual prop closet, used in many ways in the store...
 they also had them over the Halloween banquet table that I photographed last fall:
My guess is that this chandelier somehow broke and was no longer functioning
so they came up with a STUNNING new way to use it.

It's one of the most original ideas I have seen, which is why I just had to share it with you!

In answer to the "How'd they DO that?" question in my head
[that may just be rattling your brain right now],
here's the answer:
 I spied a large fountain tube running from the fountain base up a nearby post, 
across the ceiling,  and down the back side of the chandelier
where it funneled water down the center of the chandelier and out the bottom.
[I didn't see the pump, but that thing has to be really powerful
to move water that far!]

NOTE: This chandelier is NOT electrified. There is no power to it.
They may have actually stripped out the electrical system, I don't know.
If you try to do this at home, please DO NOT use a working or wired chandelier.

A crystal chandelier that drips not only glistening, sparkling crystals... but also water. 
Now THAT's a way to make a splash!

I can just imagine doing this at a wedding reception,
or even in an elegant bathroom or greenhouse.
And what about a beautiful birdcage as a possible fountain?!
Isn't it fun to look at everyday things and see so many MORE possibilities???

Again, this is not MY project...
I just saw it and wanted to share. The photos are mine.
Find Rogers Gardens in Newport Beach, CA and online here


shared online:

Blog Hop | DIY Doyenne